Have You Ever Been Blown Away by FPV Drone Videos of Buildings Flipping and Dizzying Dives?
That immersive flight experience via First Person View (FPV) is captivating countless aerial photography enthusiasts and tech geeks. Whether you crave the adrenaline of racing, want to shoot jaw-dropping aerial blockbusters, or simply explore the world from a god’s-eye view, FPV drones deliver. But for newbies, where to start can be overwhelming—until now. This blog breaks down the complete FPV drone journey: from basic concepts and gear selection to safe flying, so you can kick off your thrill-packed adventure with confidence.

Table of contents
1.Steps for Getting into FPV Drones
2.What ls An FPV Drone?
3.How much does an FPV Drone cost?
4.Pick a Radio Controller
1.Steps for Getting into FPV Drones
If you want to master FPV drone flying comprehensively, reading full tutorials is a great choice. But if you’re eager to get started, this condensed guide will help you launch your flight journey quickly.
1.1 Buy a remote controller compatible with FPV simulators.
1.2 Download an FPV simulator to start practicing.
1.3 Log over 10 hours of simulation training to master flying in acro mode (also called manual mode). Meanwhile, research different types of FPV drones and flying styles to find what suits you best.
1.4 Based on your preferences and skill level, you can buy a ready-to-fly FPV drone or purchase parts to build your own.

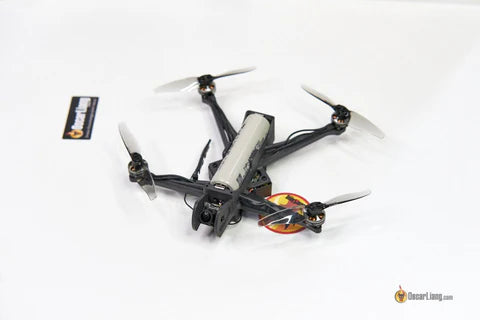
2.What ls An FPV Drone?
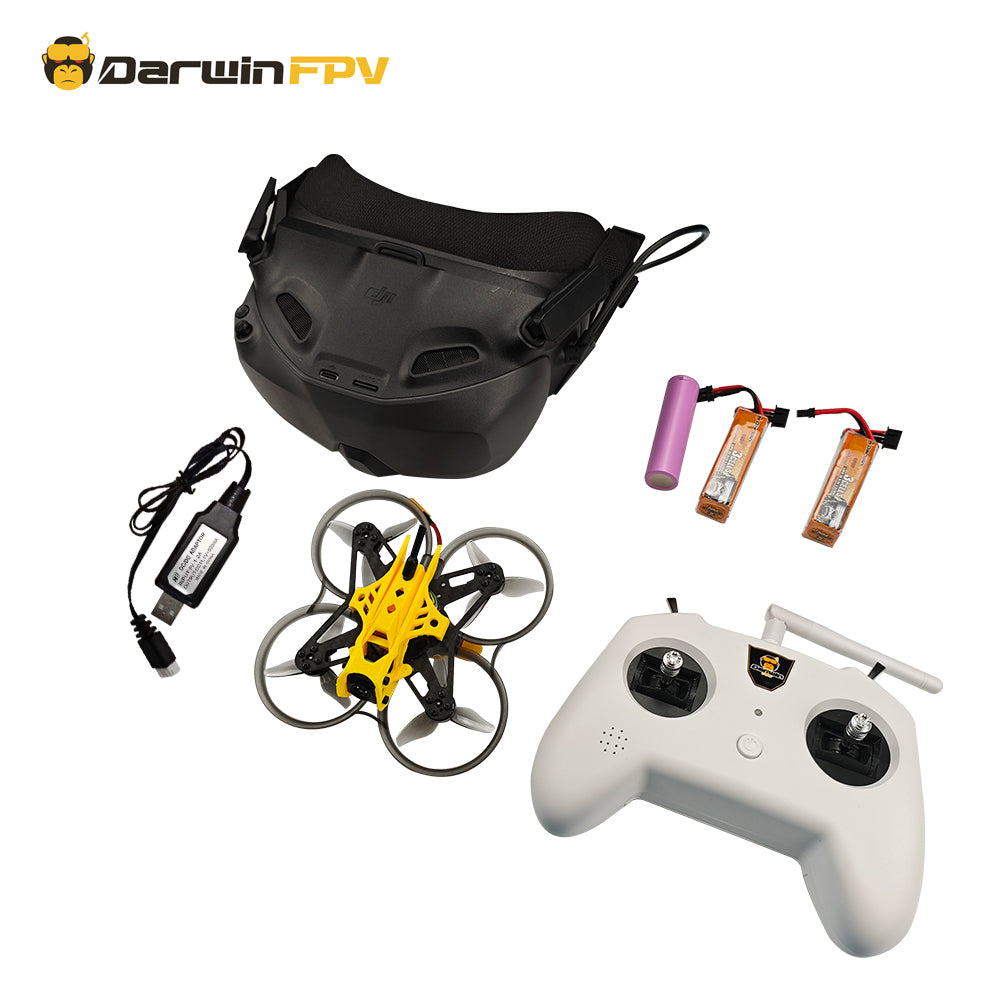
When it comes to drones, DJI immediately springs to mind for many people. These traditional drones, equipped with intelligent flight modes and precise altitude-holding and positioning capabilities, can hover stably in the air, making them ideal for routine tasks like landscape photography and terrain mapping. However, FPV drones (First-Person View drones) are a world apart from the traditional perception of drones.
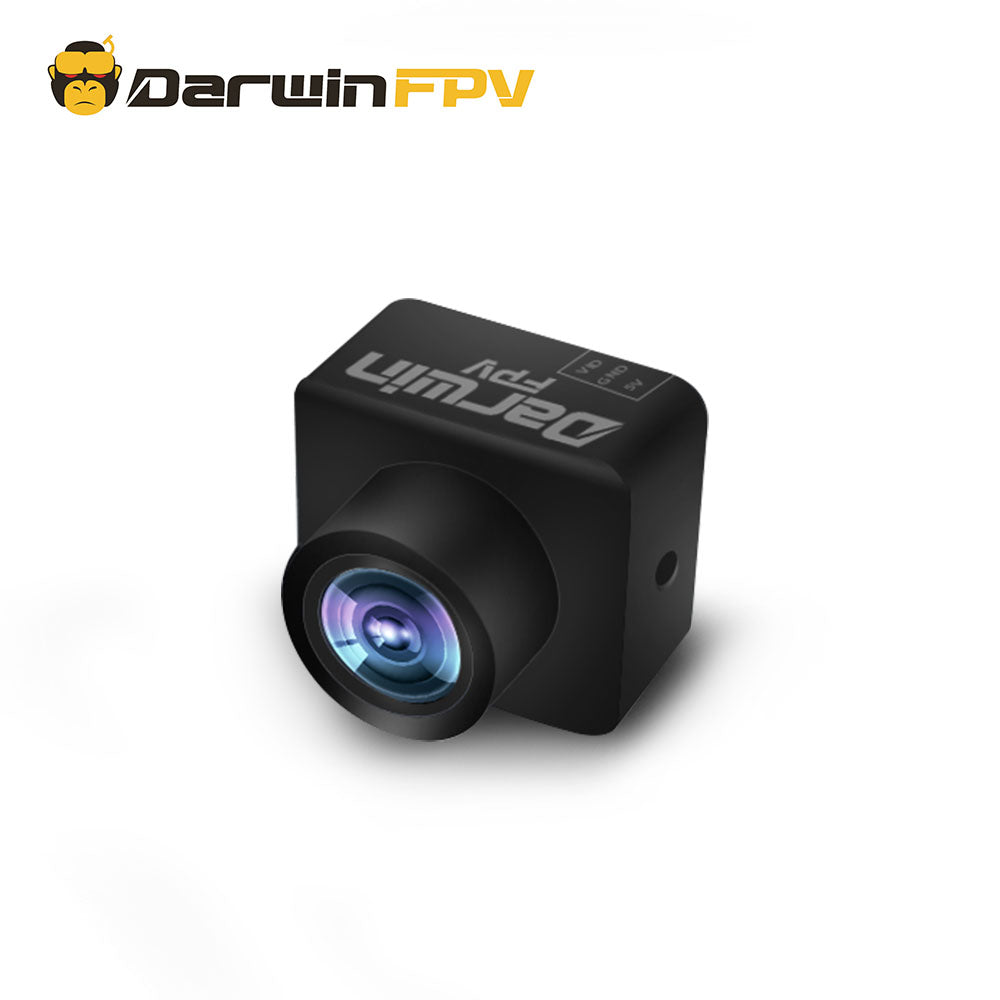
FPV drones transmit real-time footage via their onboard cameras, allowing pilots to maneuver with an immersive, first-hand perspective as if they were inside the drone itself. Unlike regular aerial photography drones, FPV drones are defined by their high maneuverability and low-latency video transmission. Whether it's extreme racing through buildings or freestyle aerial stunts, they deliver an adrenaline-pumping, immersive experience for pilots. With their unique control style and visual impact, FPV drones are becoming a top choice for drone enthusiasts eager to explore the skies and push their limits.
Most people's impression of drones remains fixed on DJI's "rock-solid stable" aerial models – slowly ascending to capture scenery in a peaceful, laid-back manner.
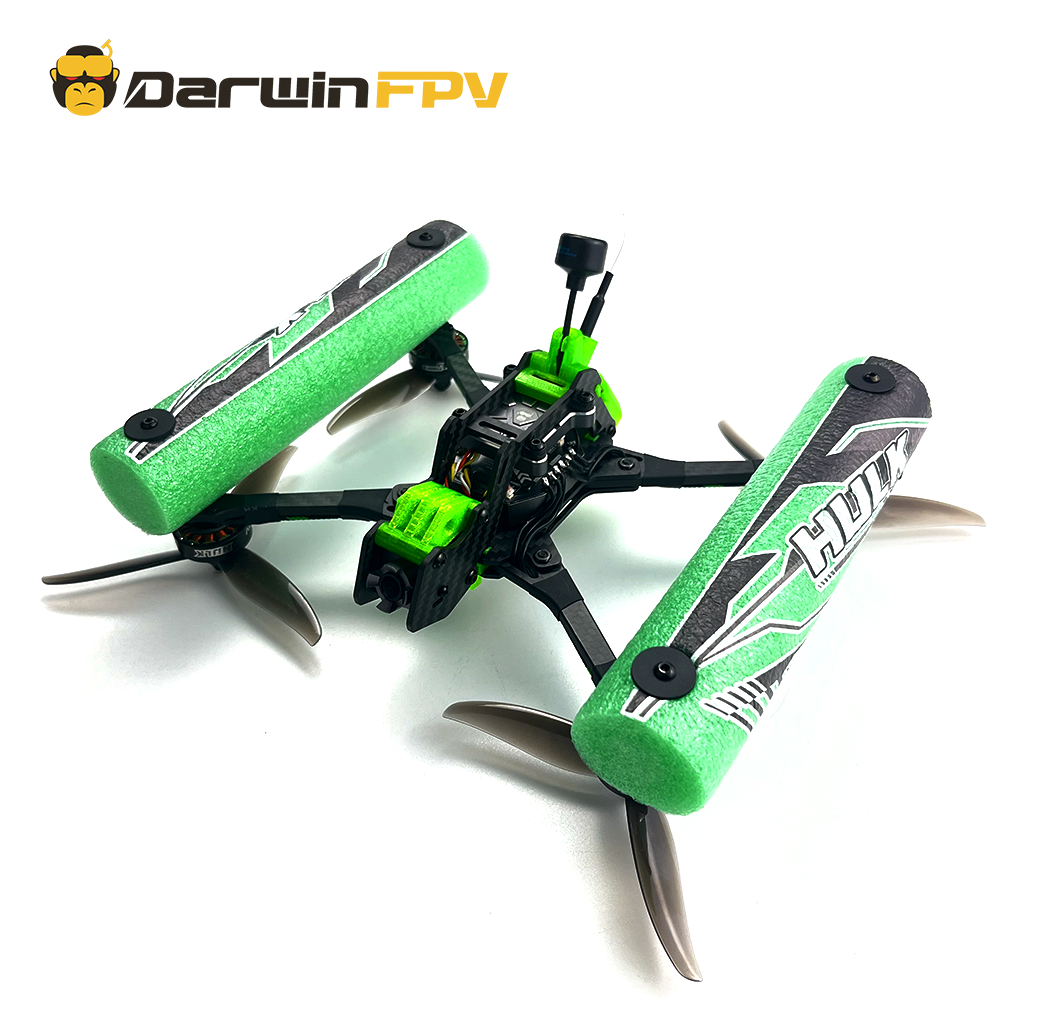
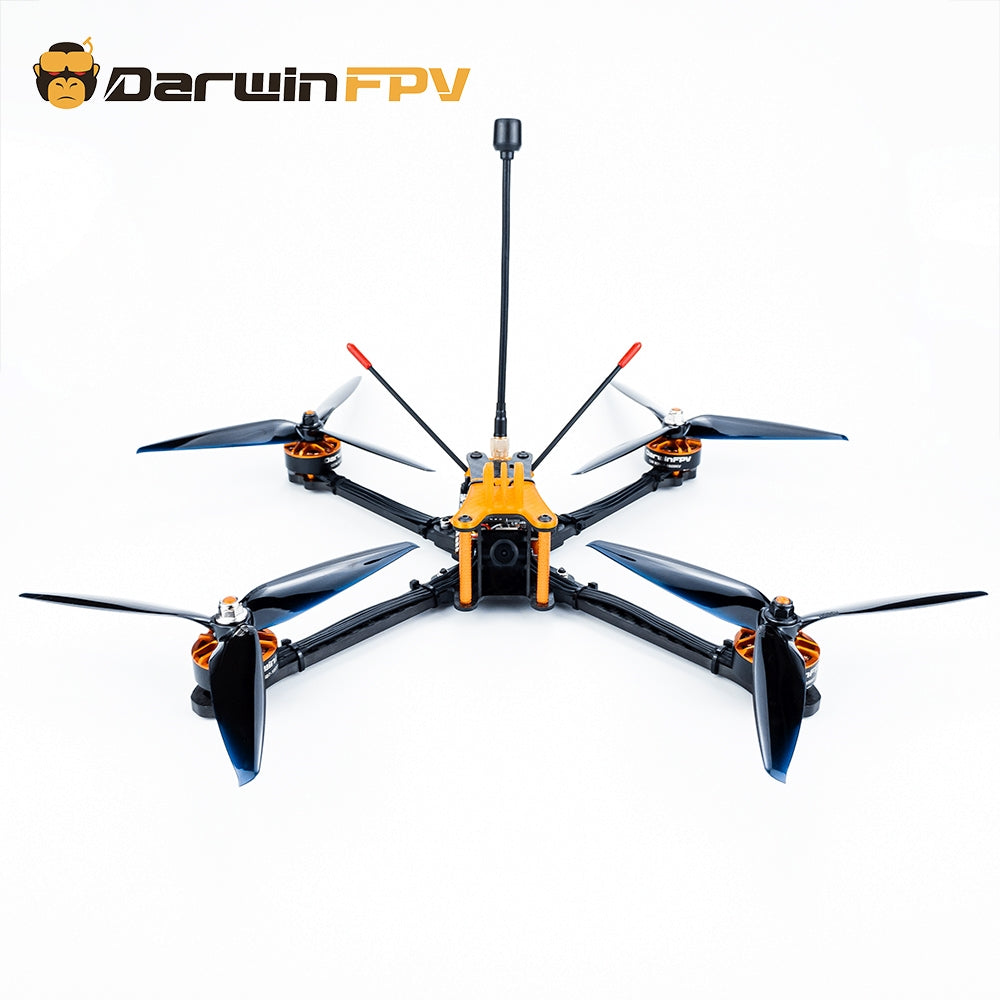
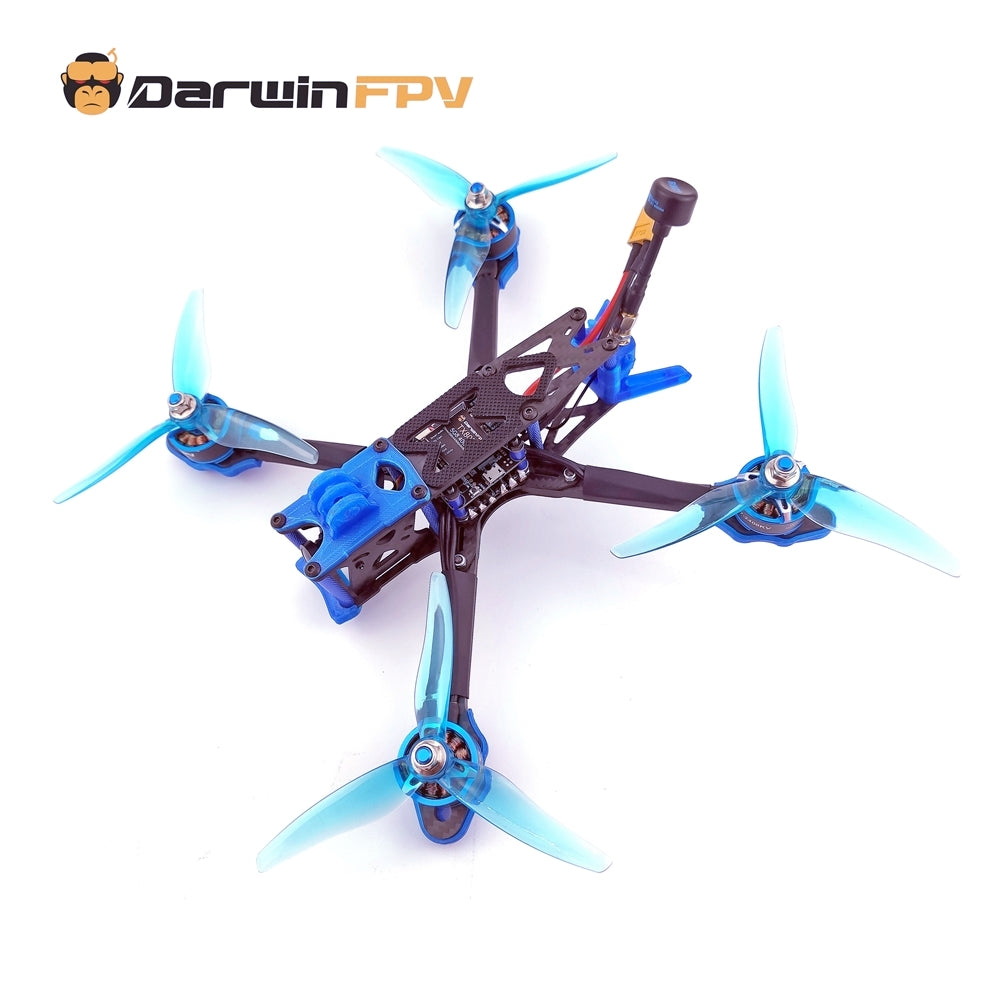
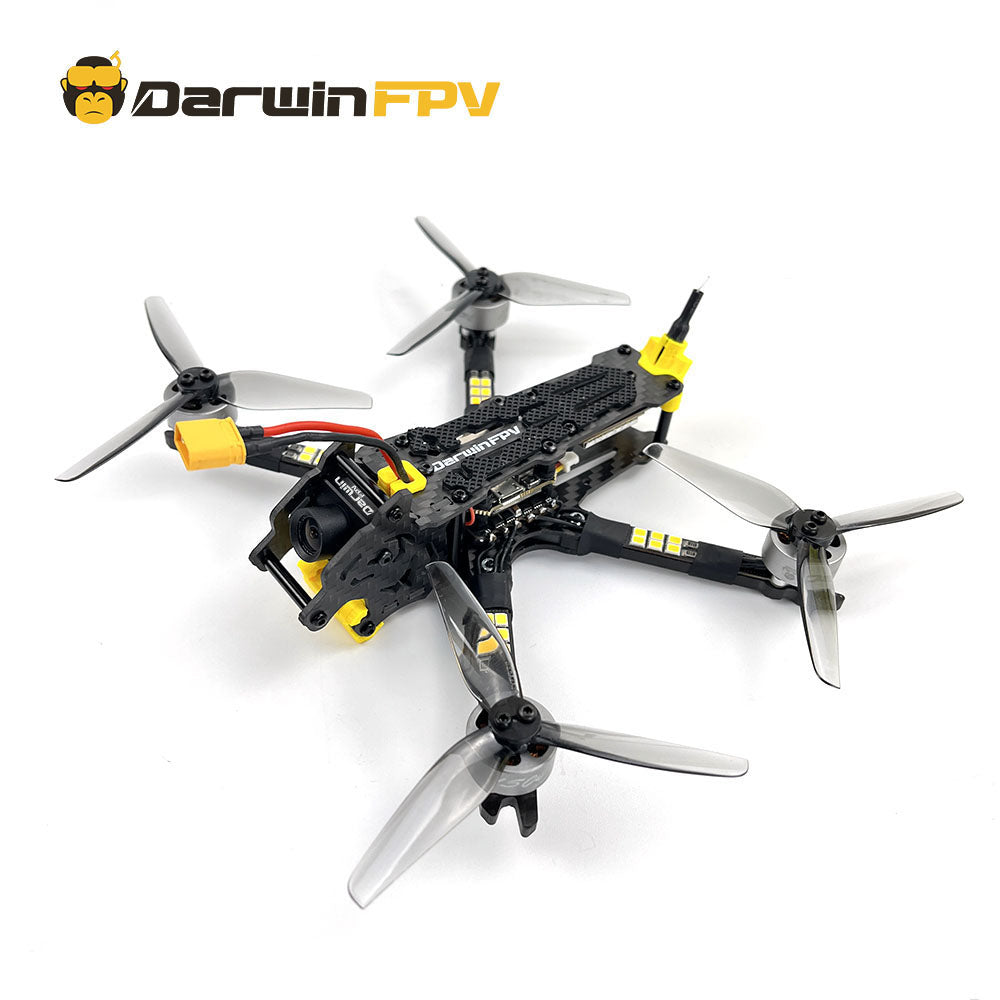
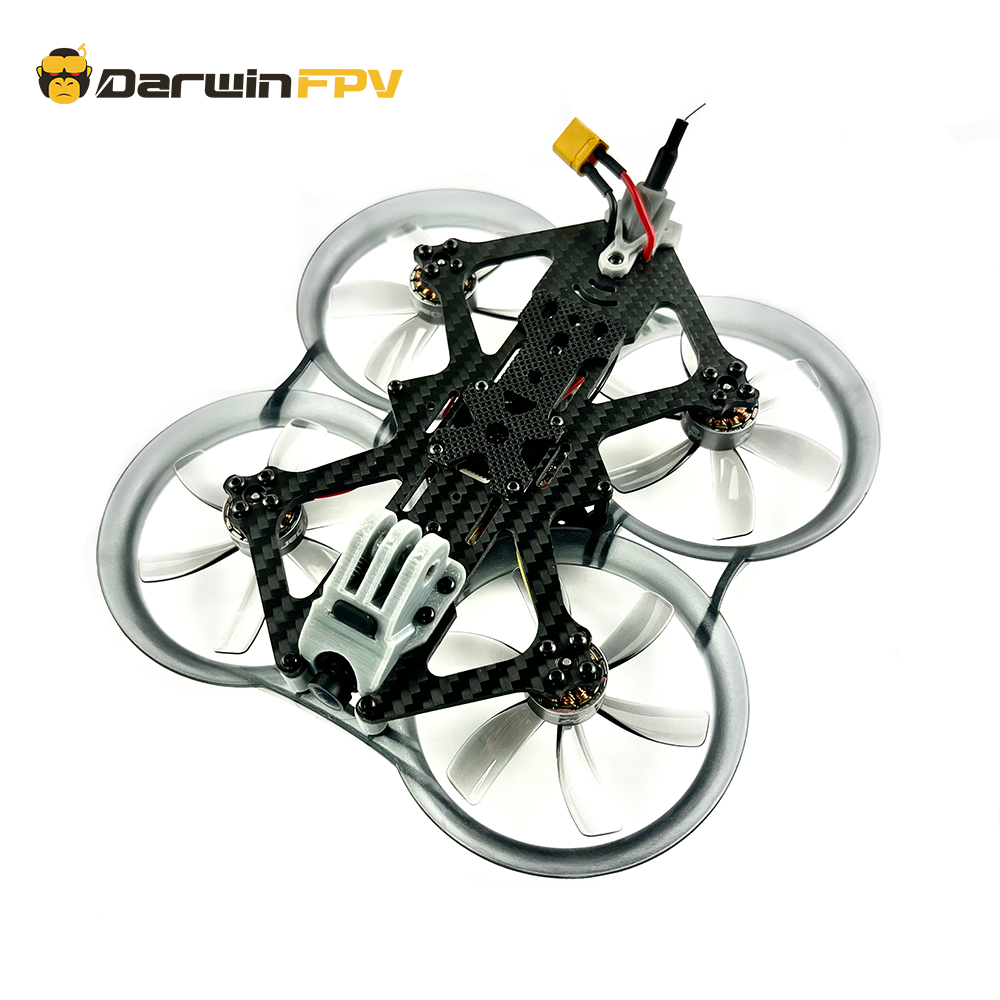
But FPV racing drones are a completely different beast:
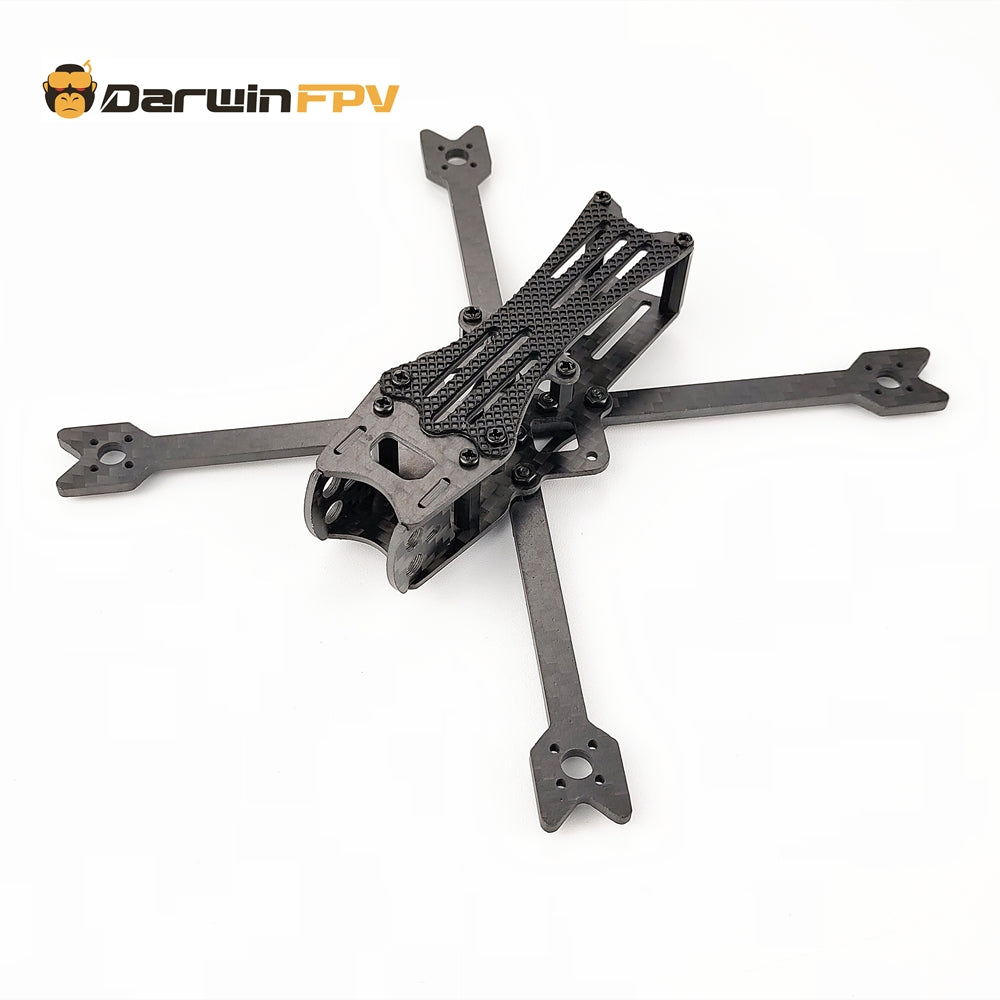
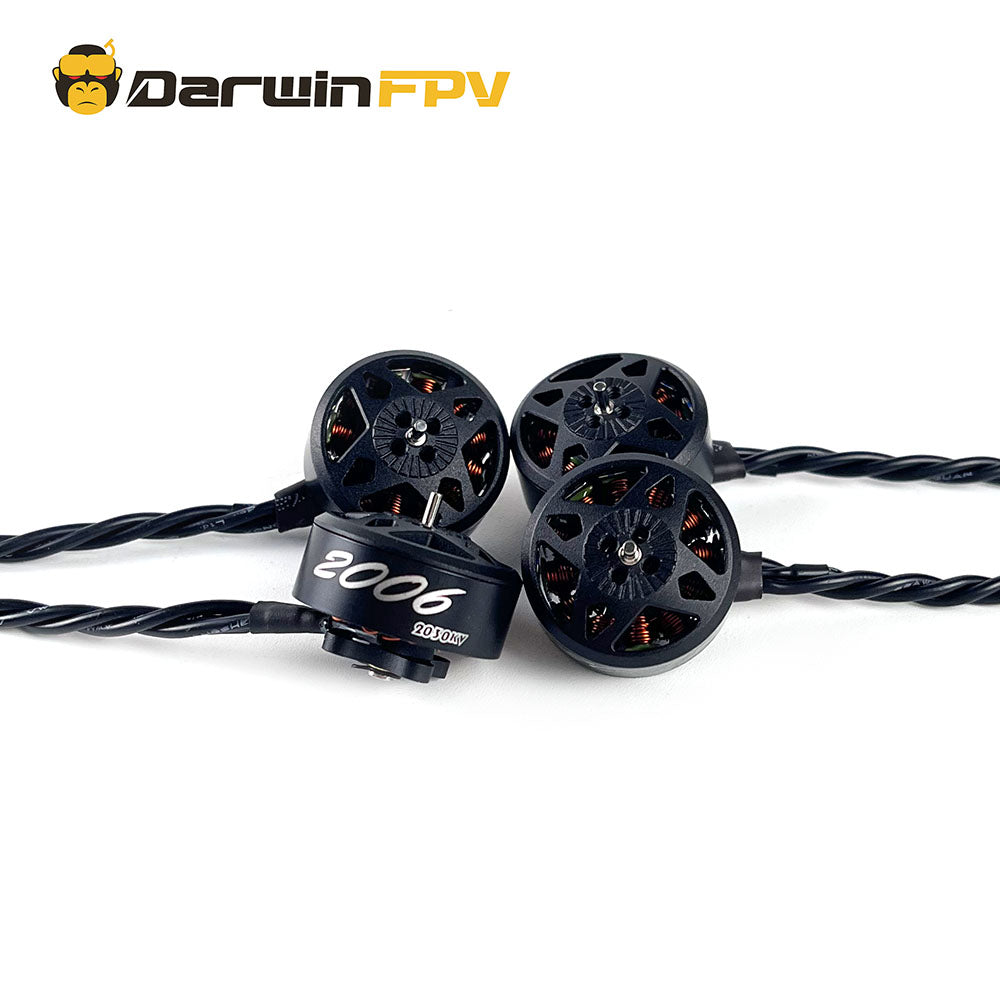
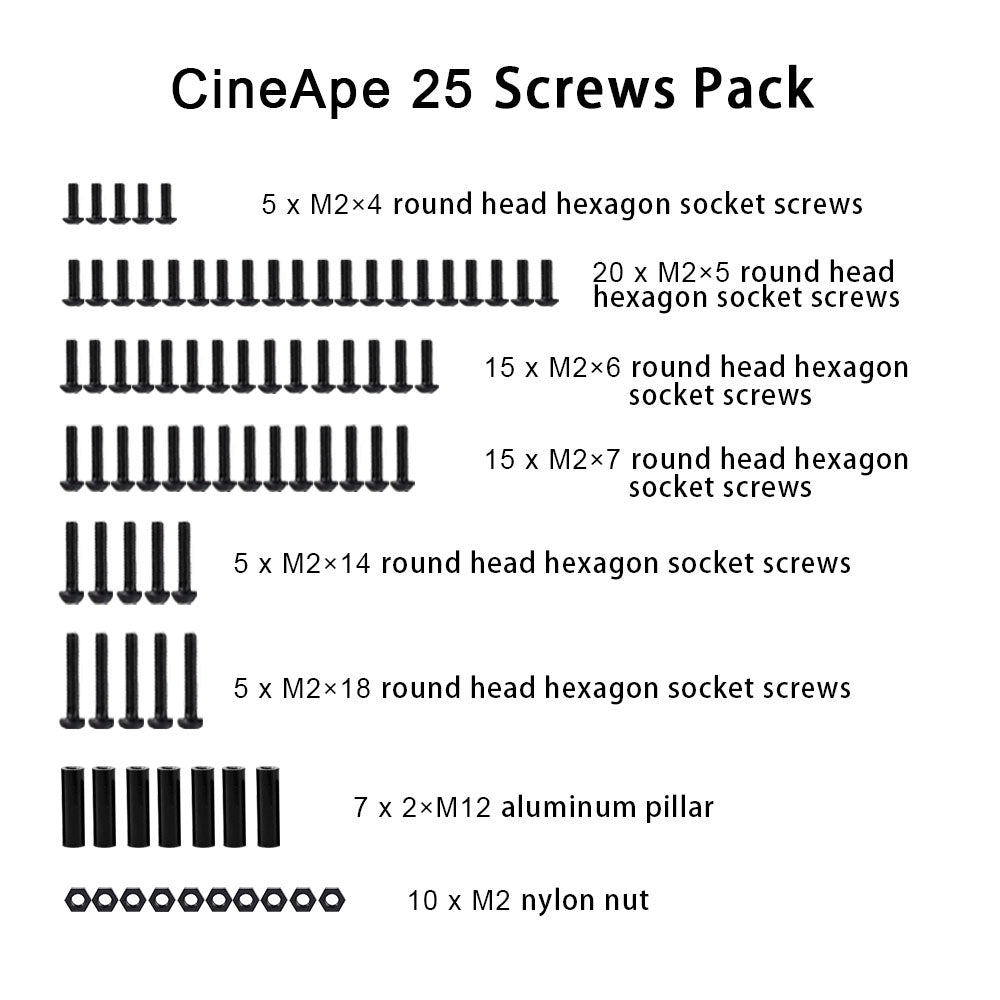
✔ Hardcore carbon fiber + metal frame – crash-resistant and durable, with easily replaceable parts! (Crash? Just fix it – it's a piece of cake!)
✔ Speed demons – 0-170km/h in under 2 seconds, with aerial flips and rolls that never seem to stop!
✔ First-person view flight – put on the goggles, and you're essentially a human fighter pilot!
In a nutshell:
DJI is the "aerial photographer," while FPV is the "extreme sports fanatic"!
How Much Does an FPV Drone Cost?
In fact, the cost of FPV drones varies depending on several factors. Let’s break it down in detail below:
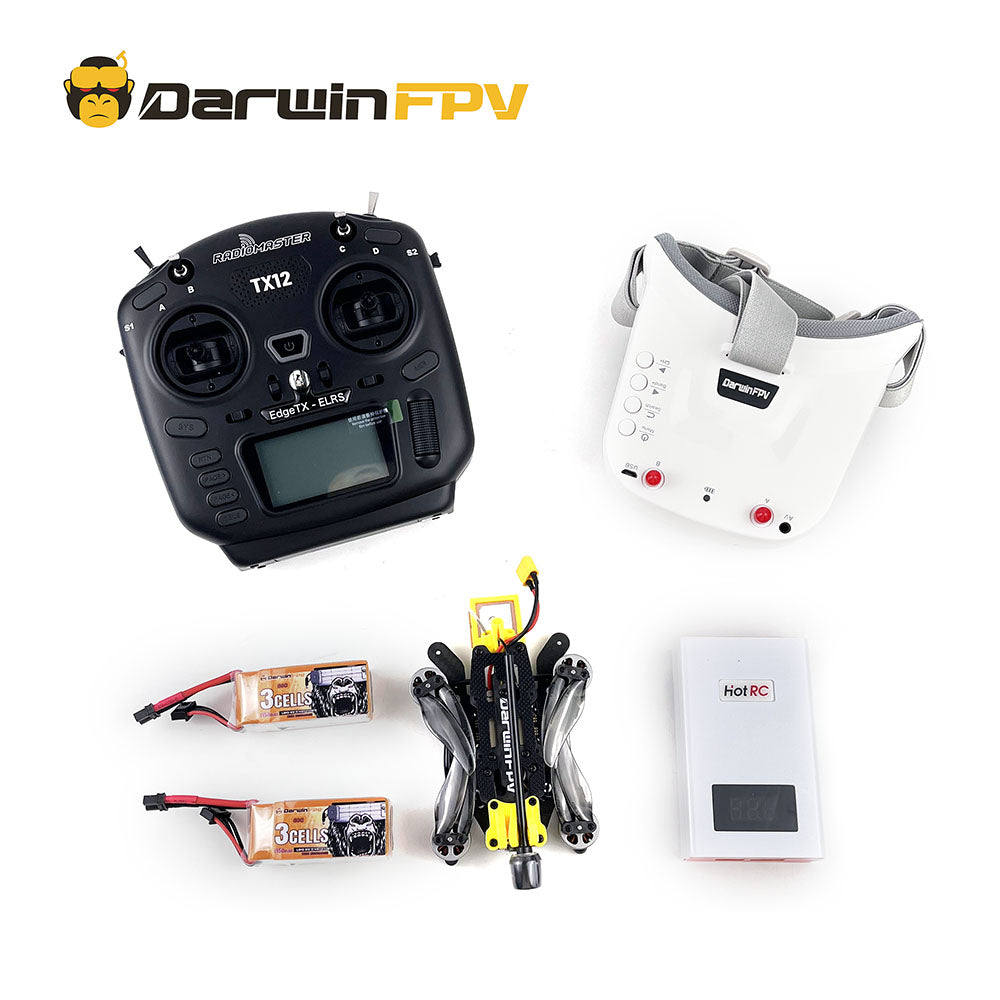
- Remote Controller: $40 ~ $200
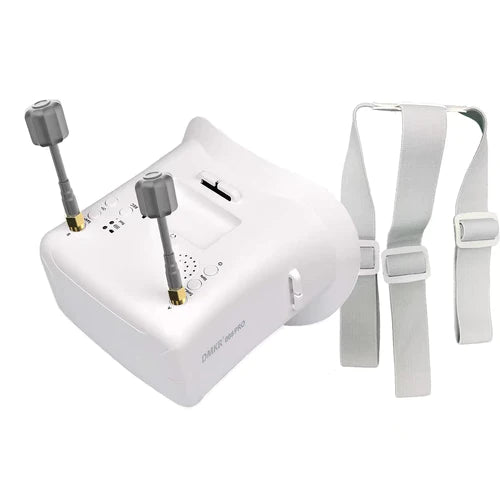
- FPV Goggles: $60~ $300
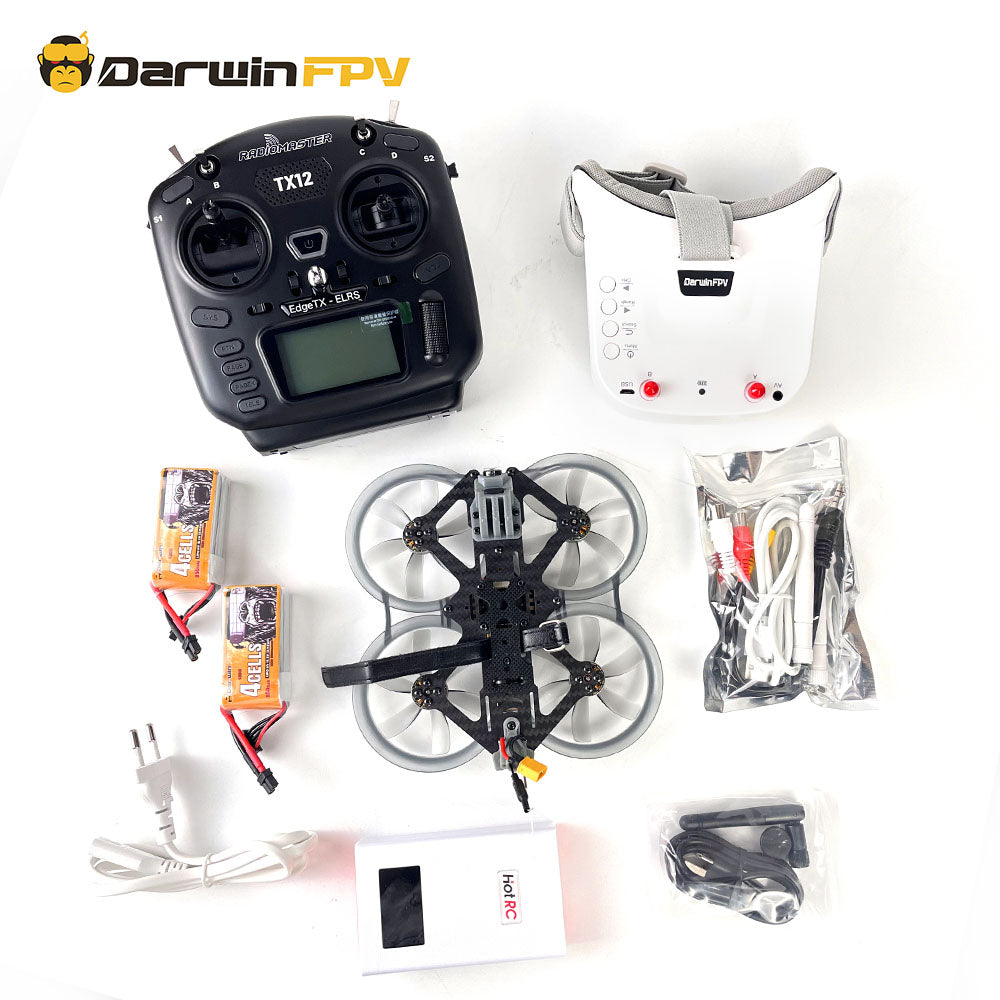
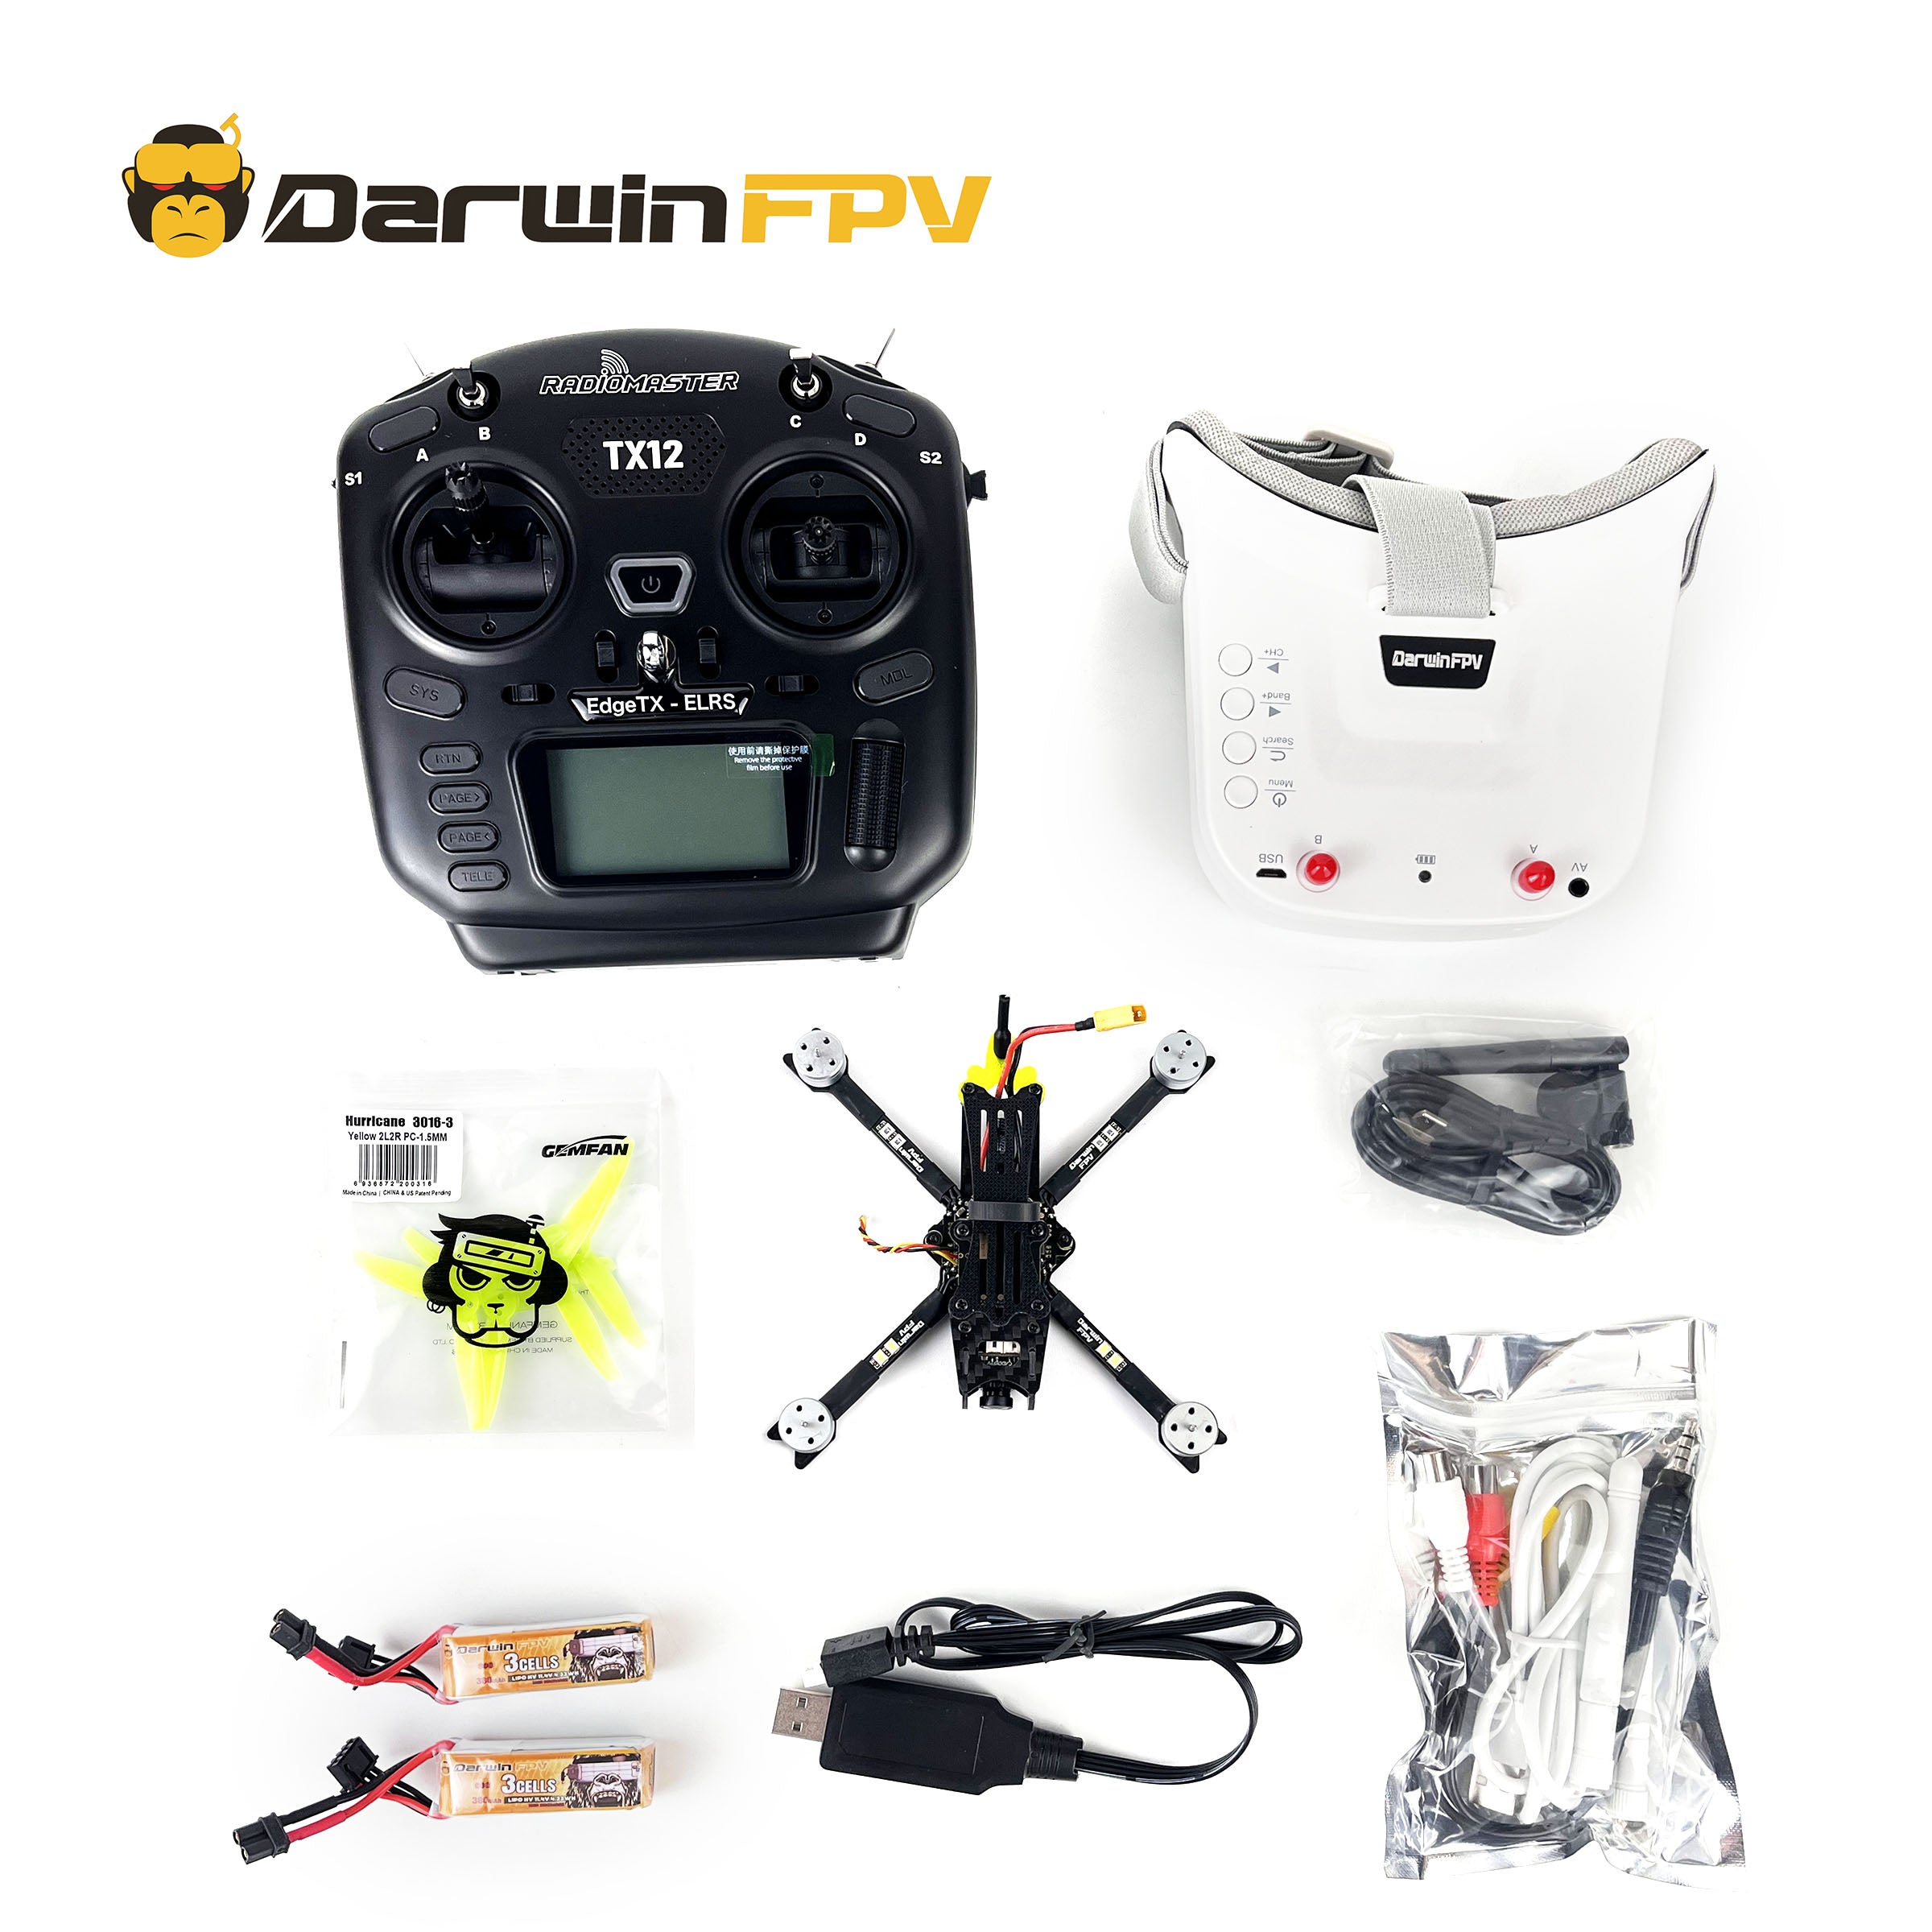
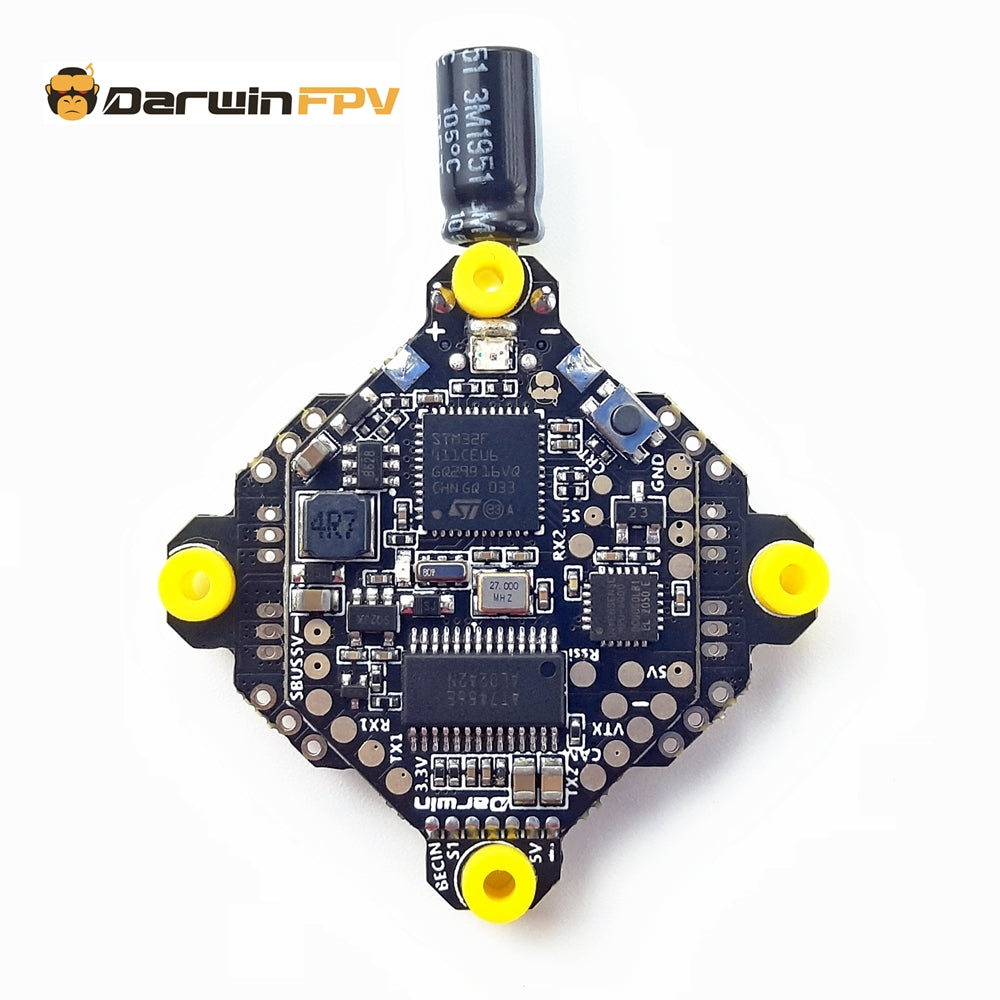
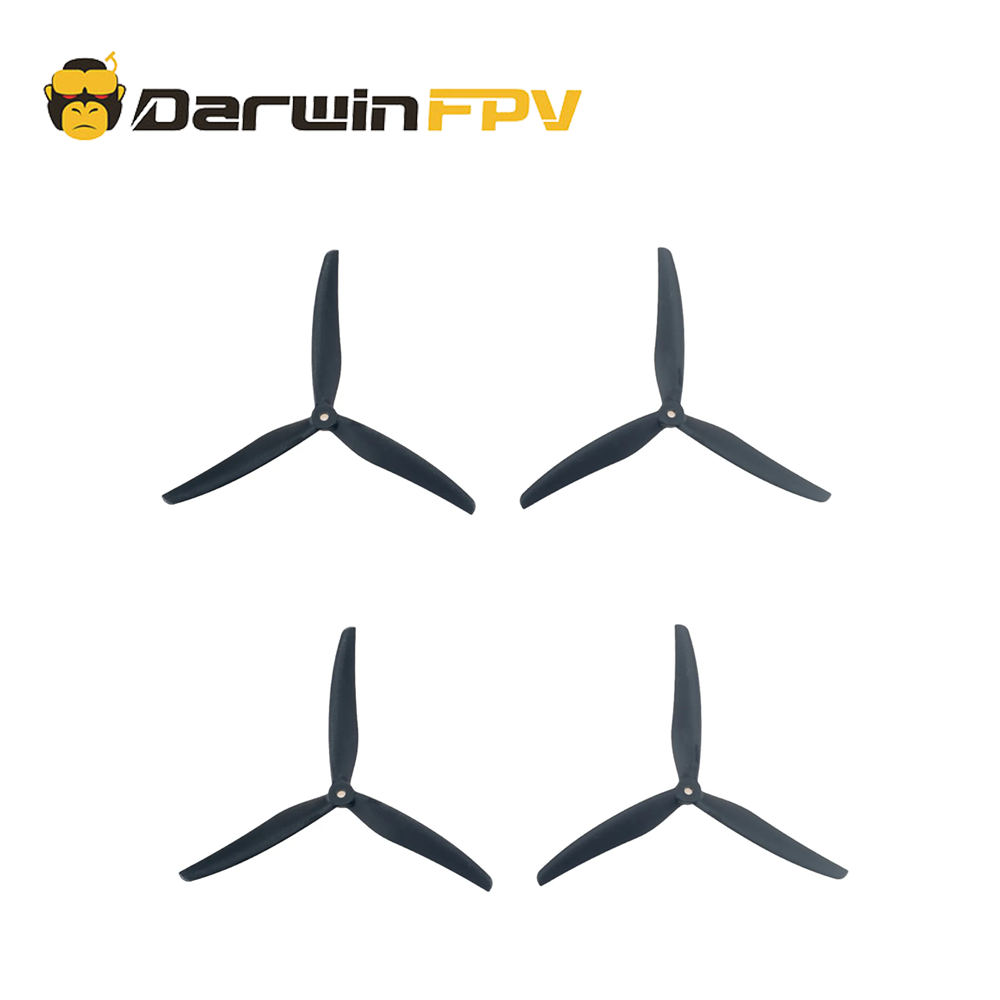
- Drone (Airframe & Core Components): $70~ $500
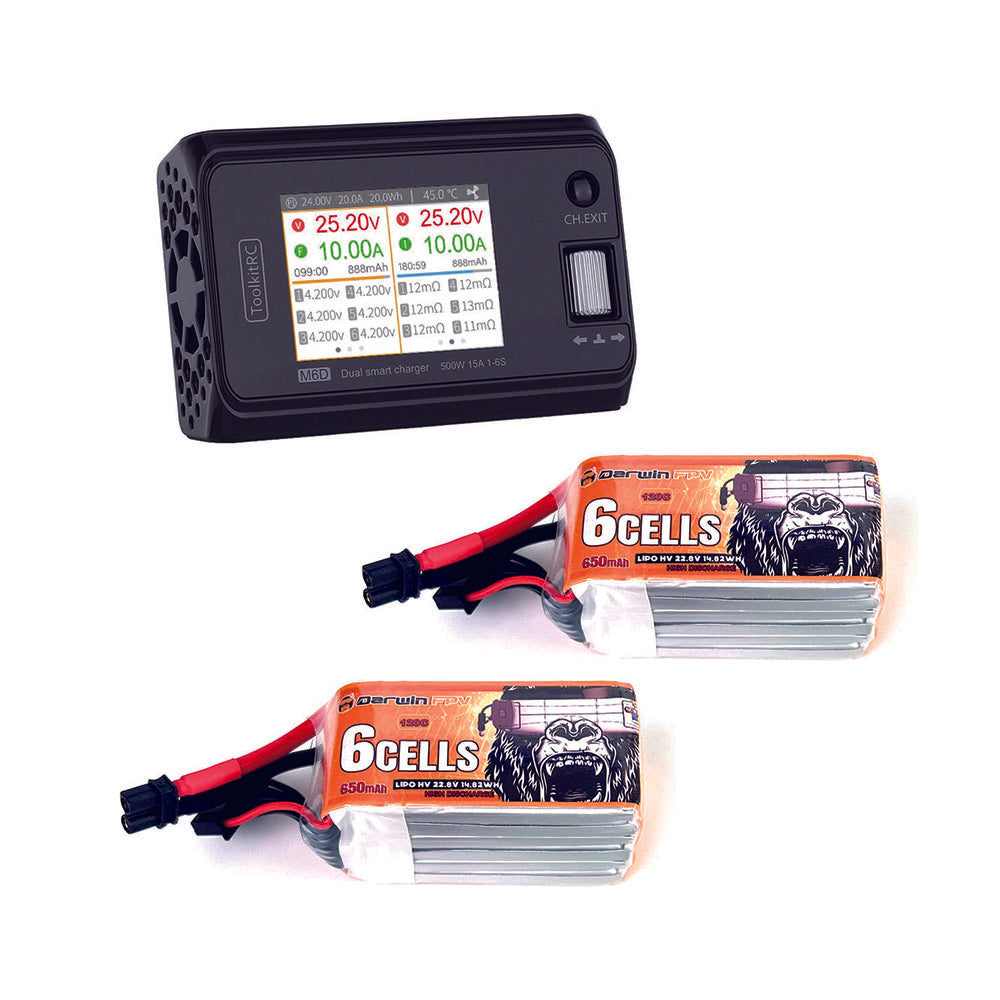
- Batteries, Chargers, Antennas & Other Accessories: $10 ~$100
Want to build your own FPV drone? A budget ranging from 2000 to over 10,000 will cover it! This price range includes full sets of equipment from entry-level to professional-grade— the key lies in how you combine the components.
For newbies who aren’t very handy with DIY, there are plenty of "Ready-to-Fly (RTF)" kits available on the market. While these kits may be slightly less impressive in terms of performance and expandability, they make up for it with convenience and affordability. They’re definitely a shortcut for beginners to get into the hobby. Wondering how to choose the right one? Keep reading to find out!
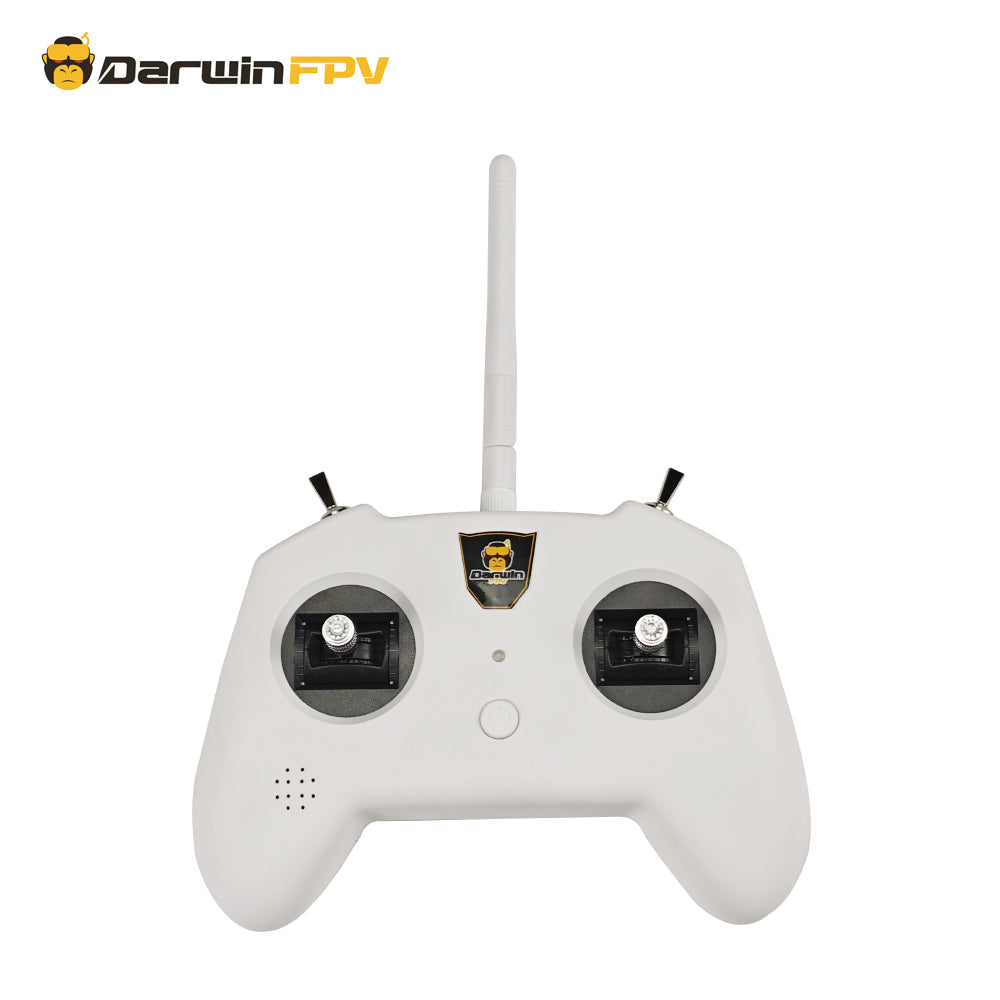
Want to get into FPV? Hold off on buying a drone first—your radio controller should be your first investment when starting with FPV racing drones. Think of the radio controller as the "nerve center" of your FPV drone; choosing the right one as a beginner can save you from crashing 10 drones down the line!
Below are 4 steps to help you narrow down and select a radio controller that fits your needs:
-
Budget < $100: Ideal for indoor/short-range practice
- Recommended Option: Built-in RF module + screenless radio controller (e.g., the upcoming "Beginner Controller")
- Key Advantages:
- Direct simulator connection: USB port for direct linking to simulators like FPV Freerider—practice your skills at no extra cost.
- Lightweight design: Weighs only 180g, making one-handed operation easy and perfect for beginners to get used to stick feel.
- Plug-and-play: Built-in ExpressLRS protocol, no need to replace the controller when matching a real drone later—saves you from secondary investments.
-
Budget $100-150: Suitable for outdoor test flights & casual aerial photography
- Recommended Model: Built-in RF module + screen-equipped radio controller (e.g., TX12 ELRS)
- Use Case Adaptability:
- Real-time parameter adjustment: 2.4-inch screen supports modifying throttle curves and switching stabilization modes mid-flight.
- Data monitoring: Displays battery level, signal strength, and other data—reduces crash risk by 30%.
-
Budget >$150: For those pursuing quality & expandability
- Recommended Option: External RF module + screen-equipped radio controller (e.g., Radiomaster TX16S)
- Technical Highlights:
- Flexible protocols: Can connect external Crossfire/DJI modules, compatible with future upgrades like racing drones or aerial photography FPV drones.
- Professional control: Hall effect gimbals + metal encoders—improve precision by 50%, ideal for advanced acrobatic flying.
(2) Flight Range Needs: RF Module Type Determines Flight Radius
-
Complete beginner, hates hassle: Prioritize "Beginner Controller"
- Product Highlights:
- Minimalist design: Removes complex buttons, retaining only basic gimbals + mode switch—connects to the simulator immediately after power-on.
- Beginner guidance: Built-in voice prompts (e.g., "Throttle calibration in progress") to avoid crashes caused by misoperation.
-
Willing to learn technical parameters: External RF module version
- Advanced Advantages:
- Custom programming: Modify channel mapping and mixing logic via the OpenTX system to deeply understand FPV drone control principles.
- Module expansion: Add long-range modules or video transmission linkage modules later to unlock more flying styles.