


Download

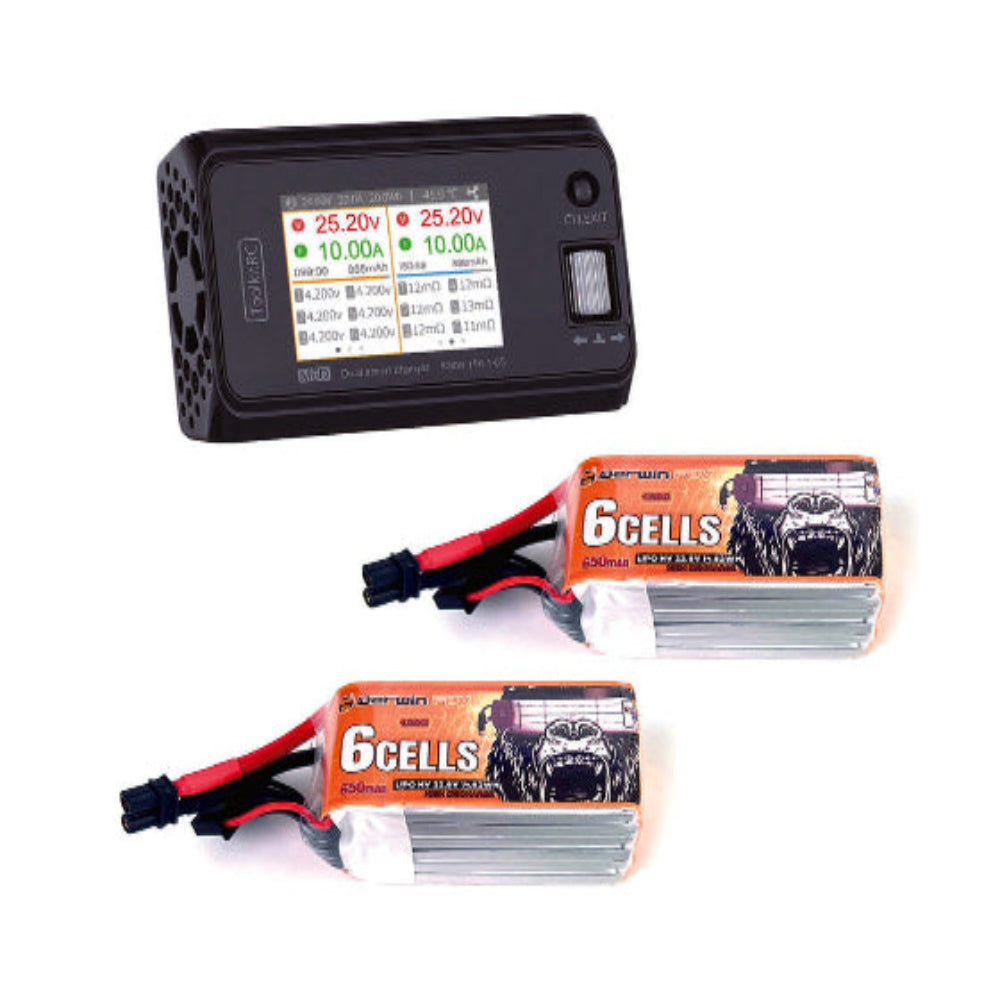
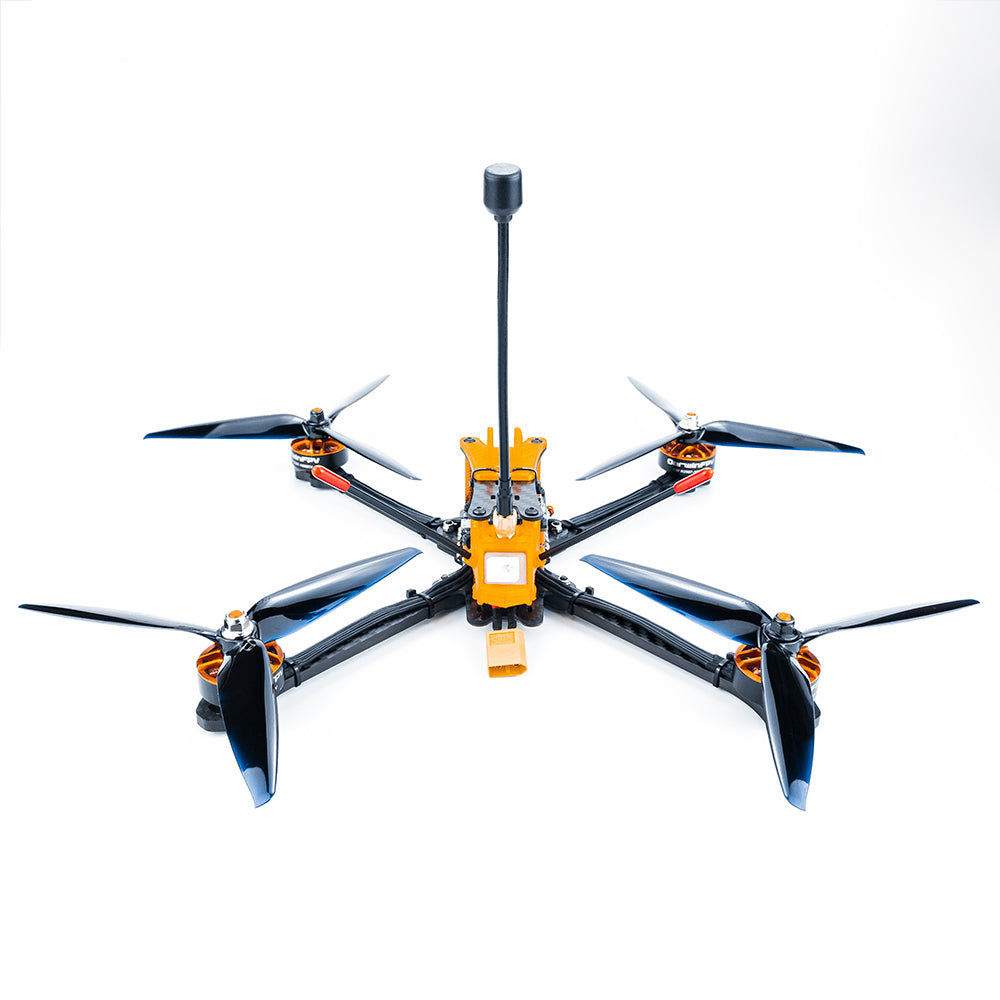
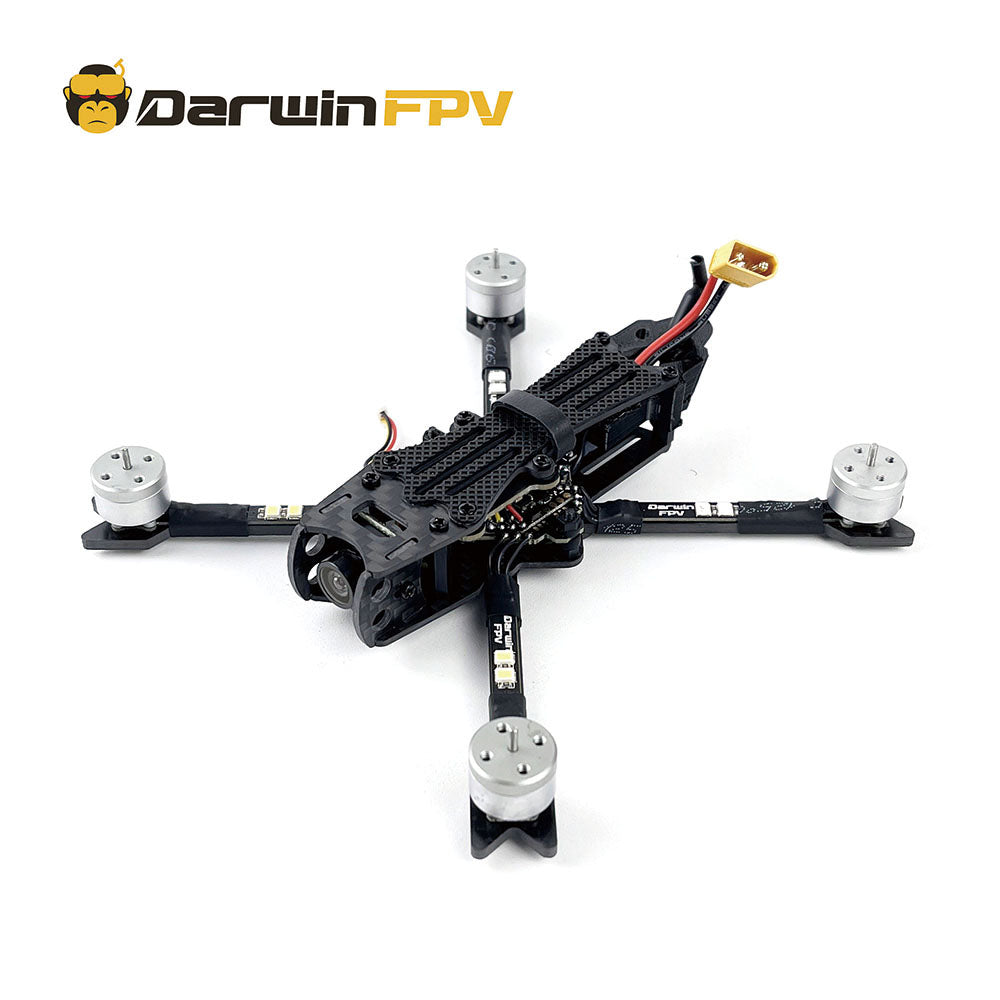
DarwinFPV ApeStyle X5 FPV Drone

DarwinFPV ApeStyle D5 FPV Drone

DarwinFPV ApeStyle D6 FPV Drone

DarwinFPV ApeStyle X6 FPV Drone
DarwinFPV Cement 5.8G 1000mW VTX

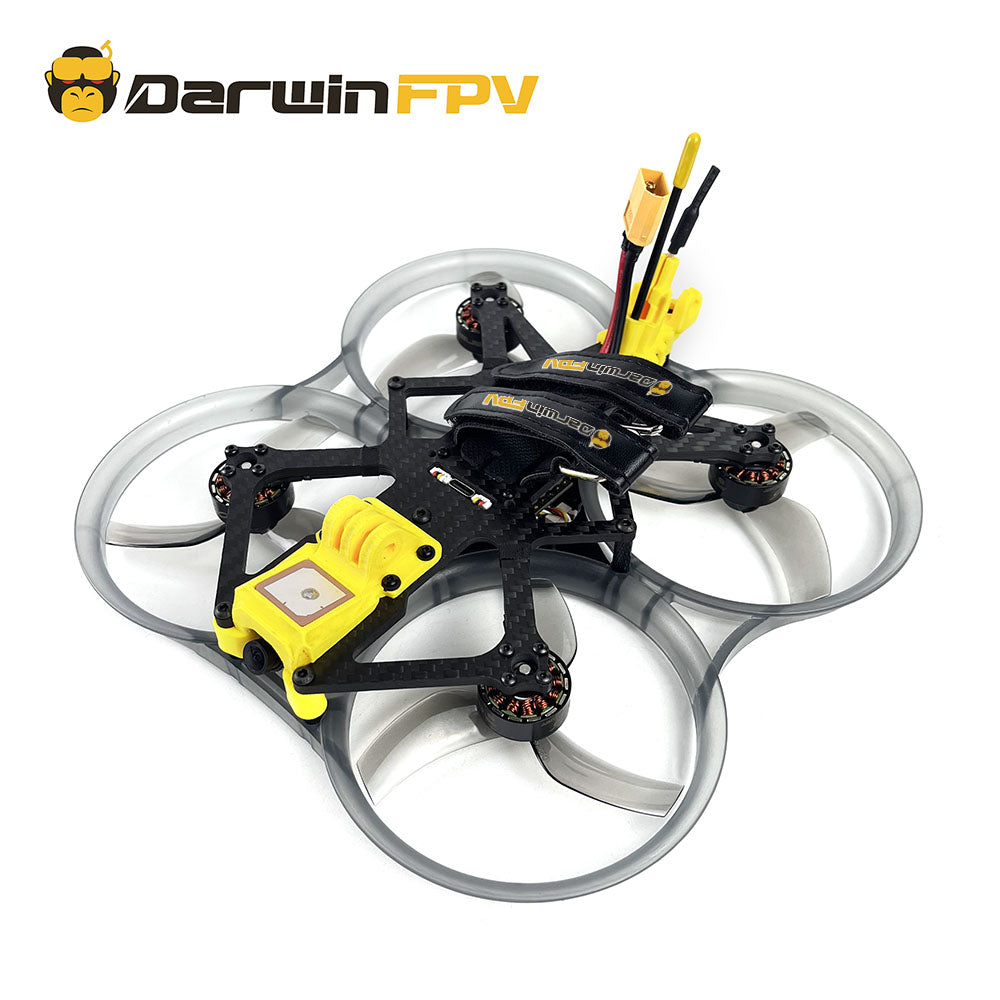
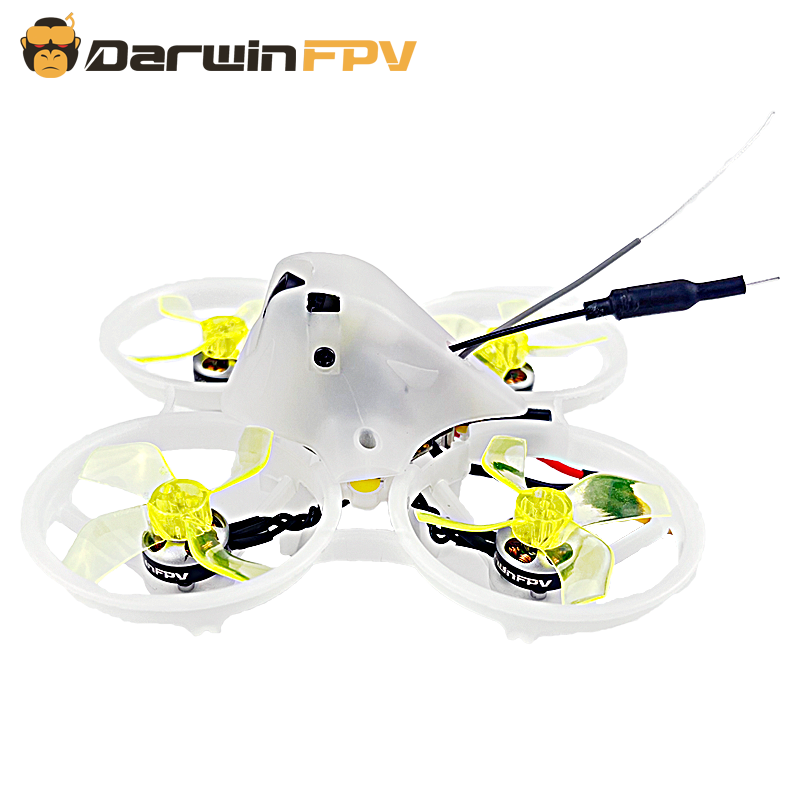
DarwinFPV BabyApe Ⅲ Mini 2 Inch

DarwinFPV BabyApe Ⅲ 3 Inch

DarwinFPV BabyApe Ⅲ Pro 3.5 Inch
DarwinFPV CineApe20
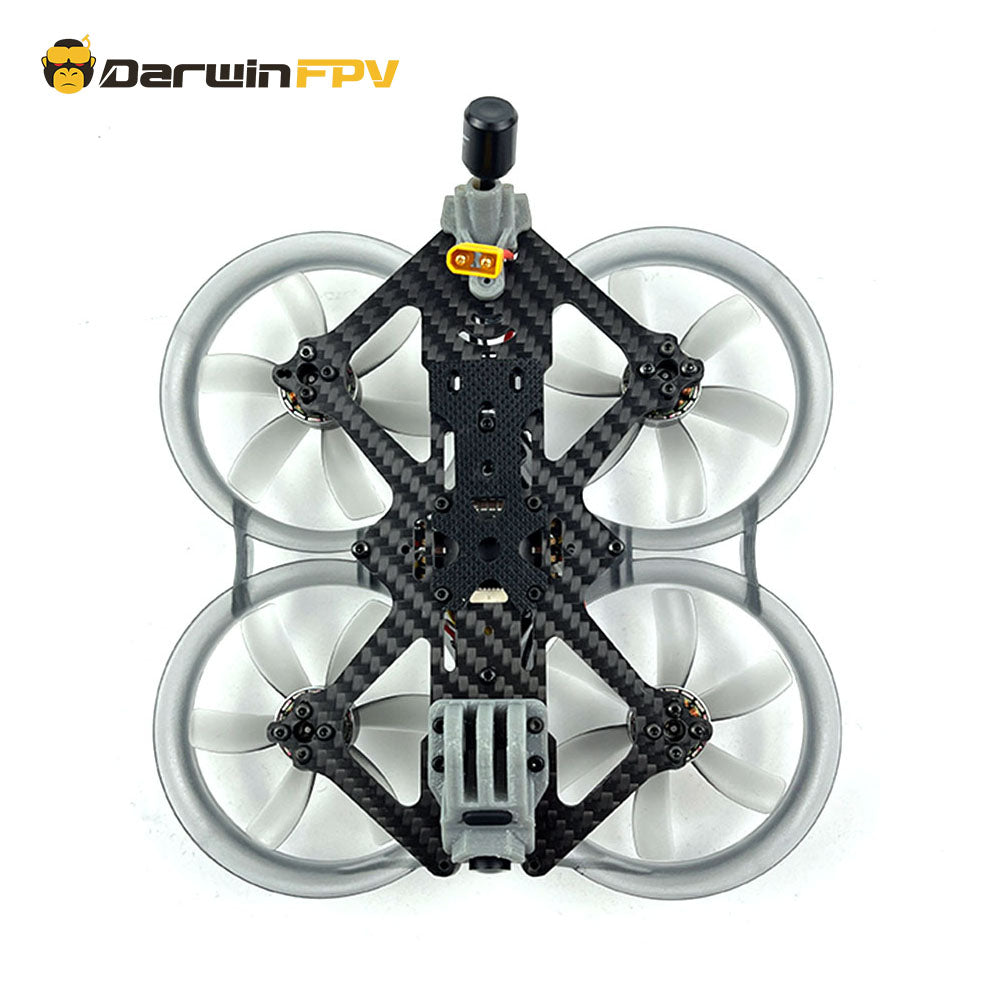
DarwinFPV HULK III Mini Waterproof
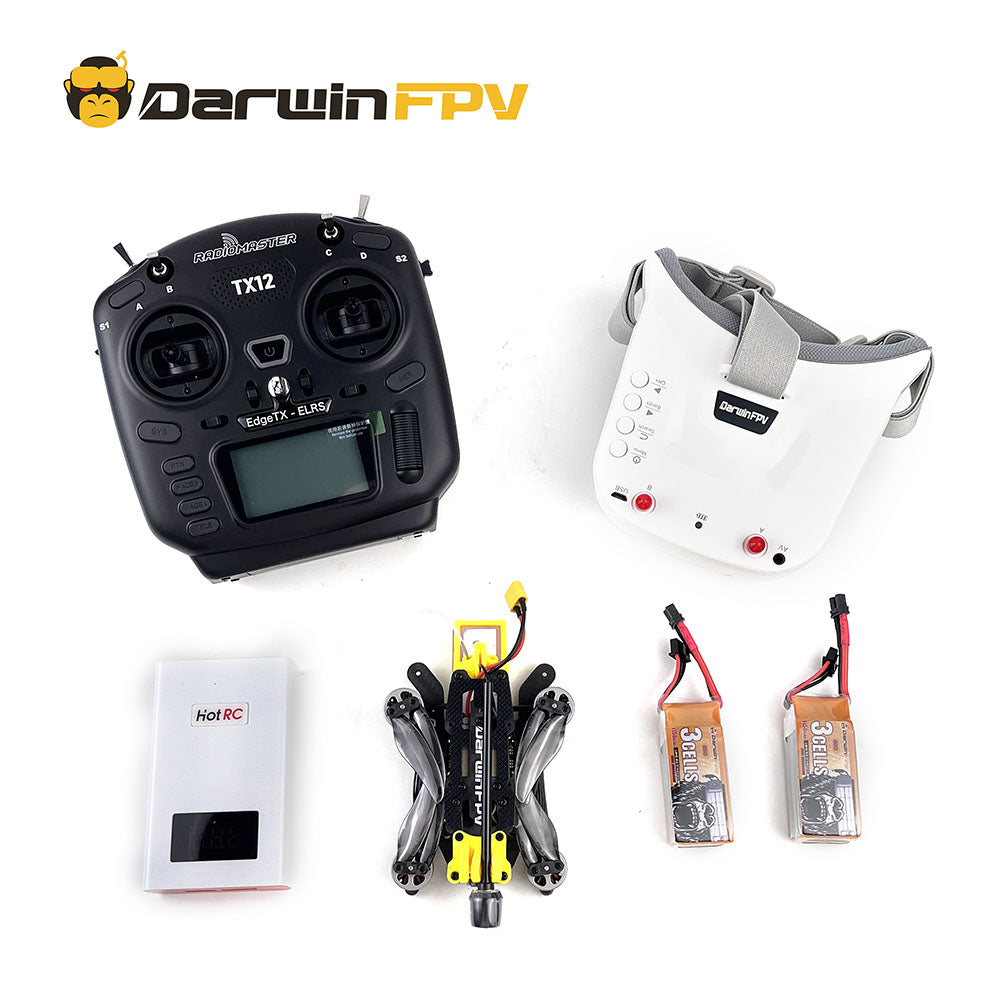
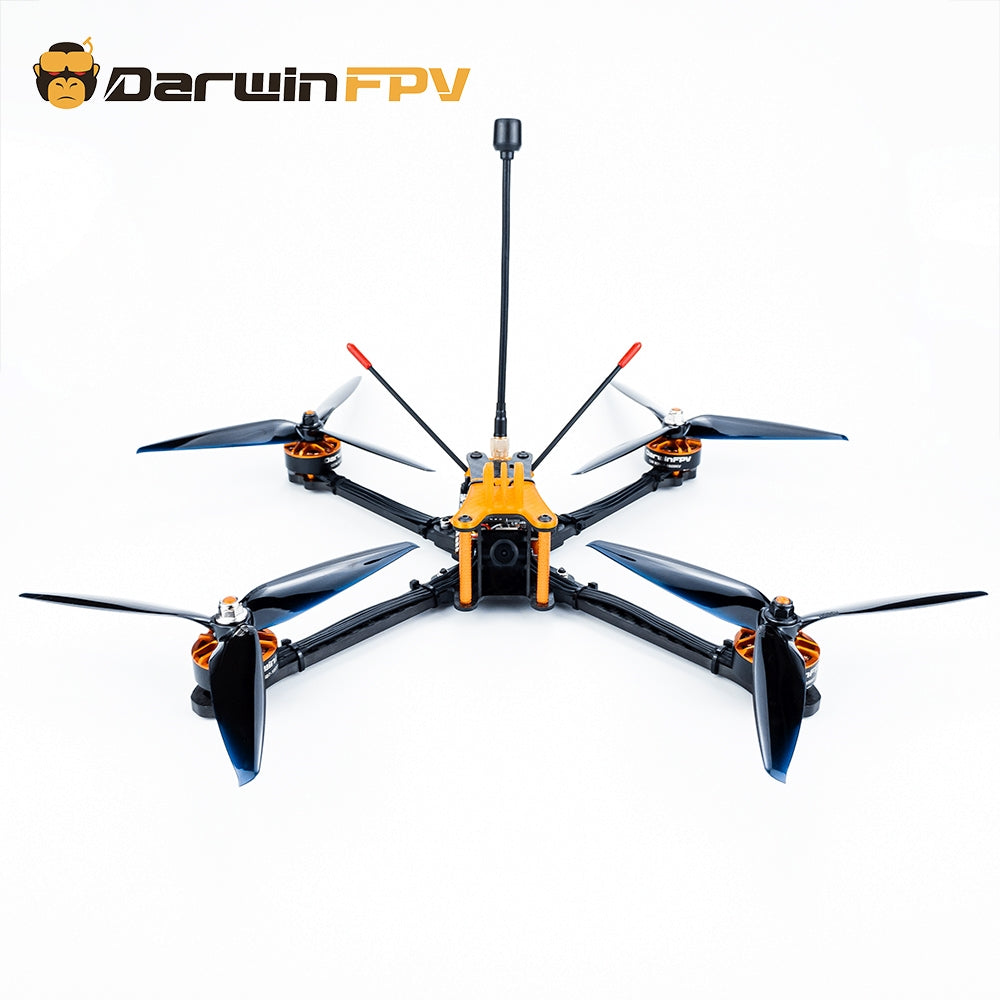
DarwinFPV FoldApe4
CineApe35 FPV Drone
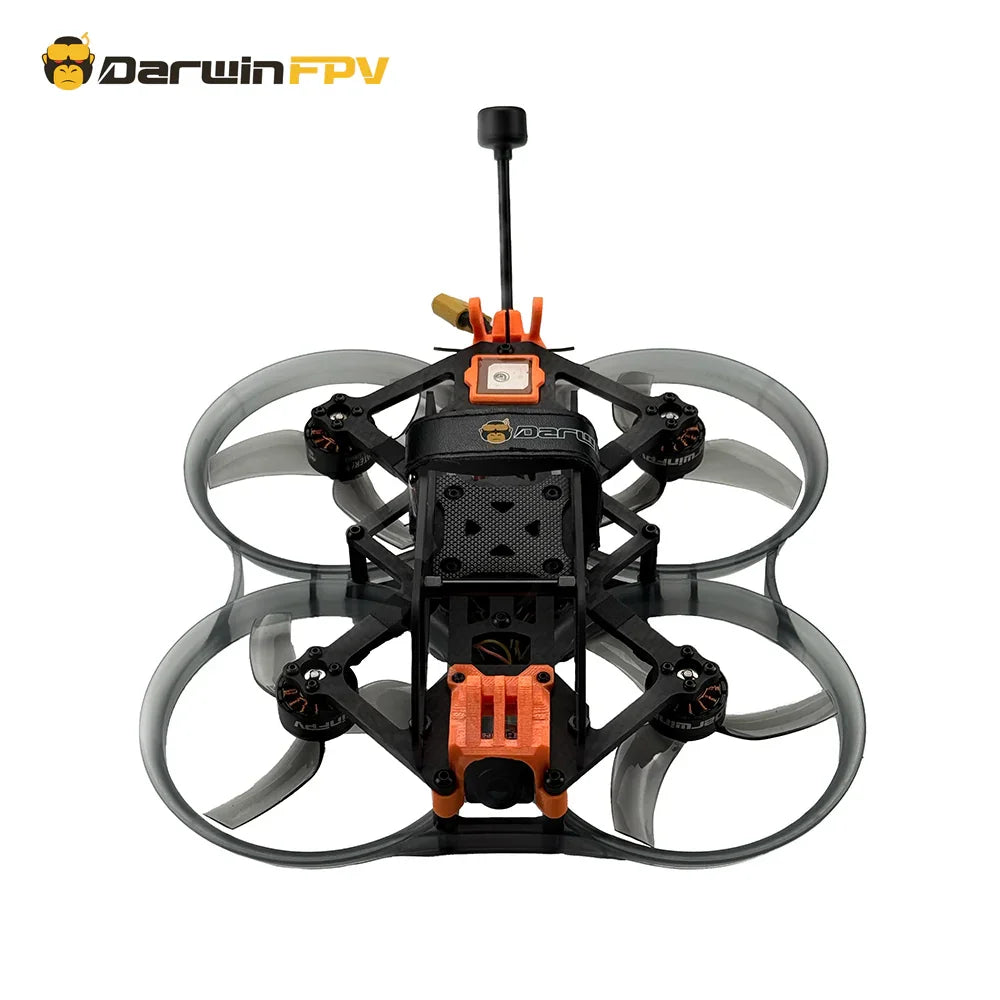
Darwin BabyApe Ⅱ
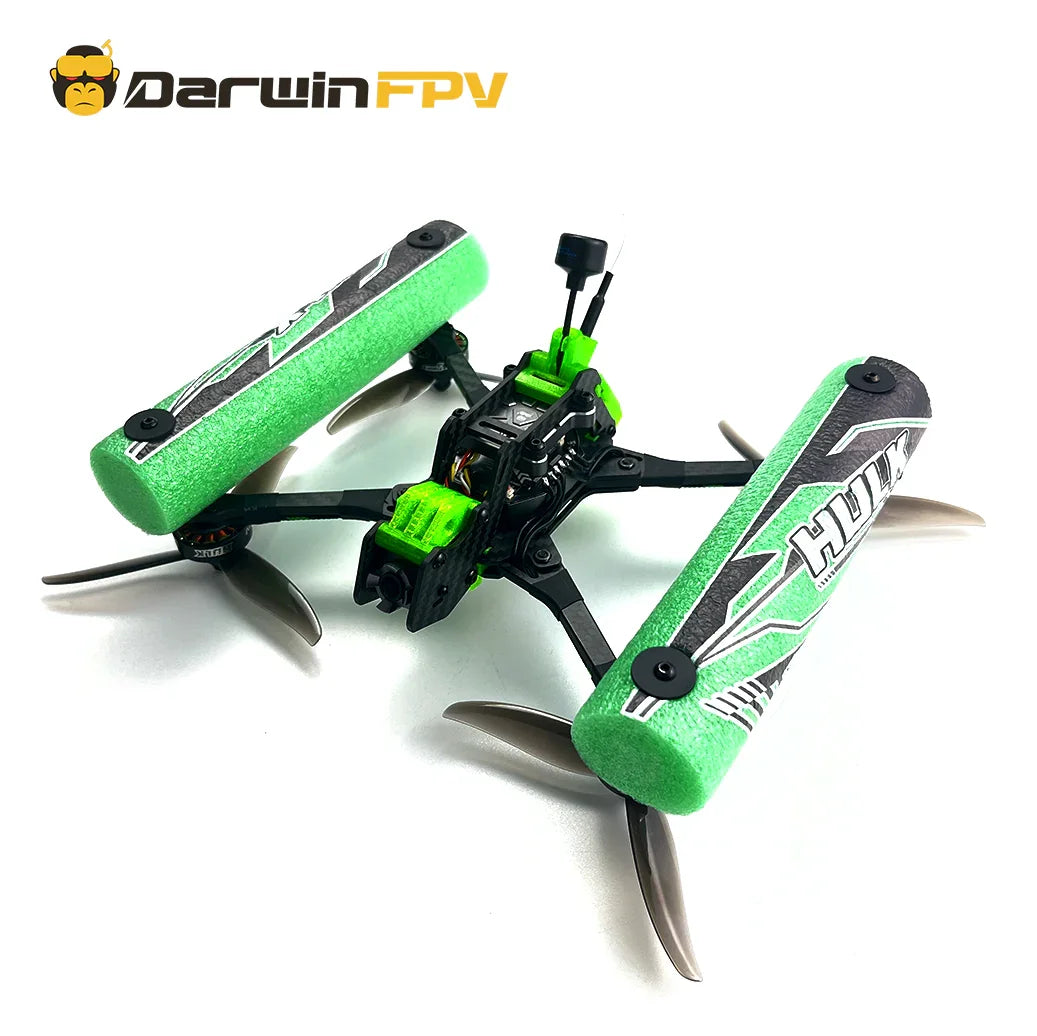
DarwinFPV HULK Ⅱ Waterproof FPV Drone
DarwinFPV CineApe 25
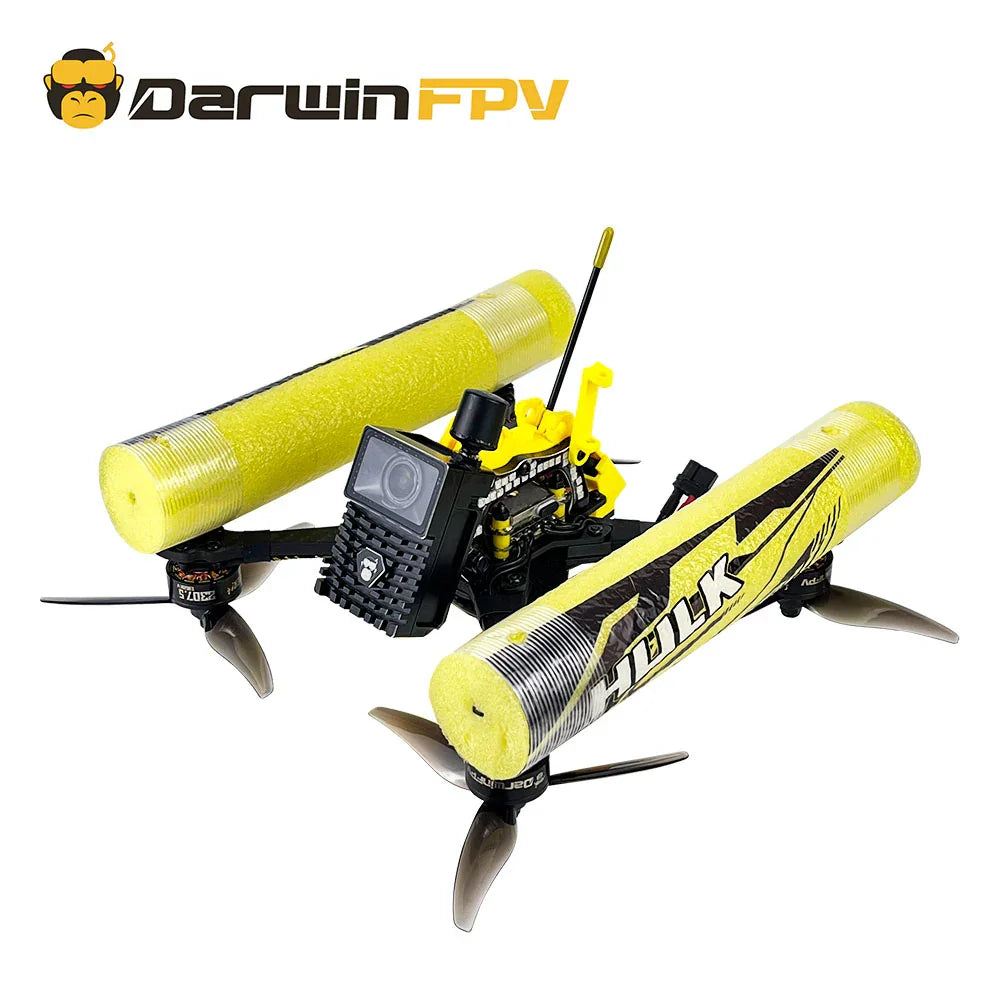
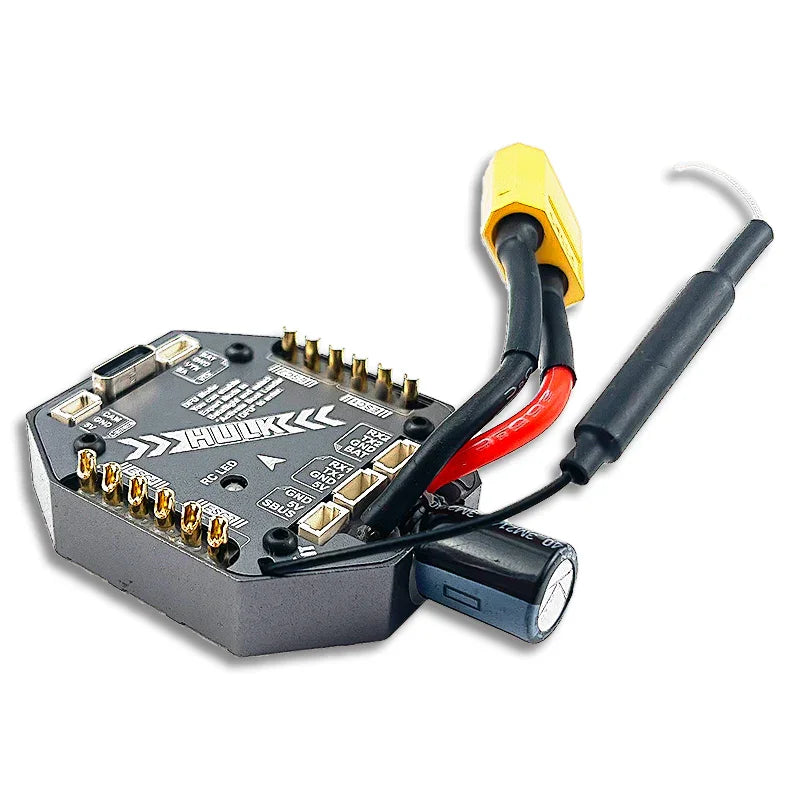
DarwinFPV HULK Waterproof FPV Drone
Darwin129 7" Long Range PNP

TinyApe Freestyle

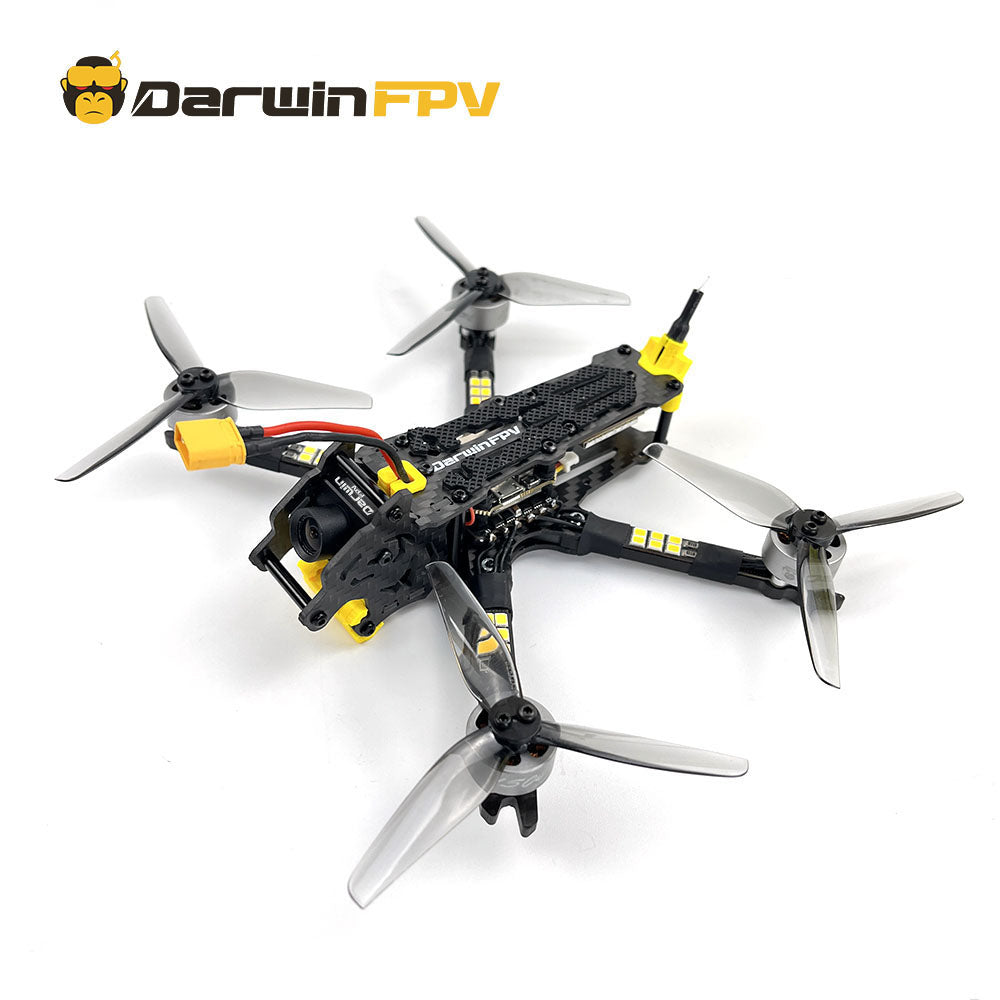
Darwin240 Johnny 5 Quadcopters
Darwin whoop75 Quadcopters Drone
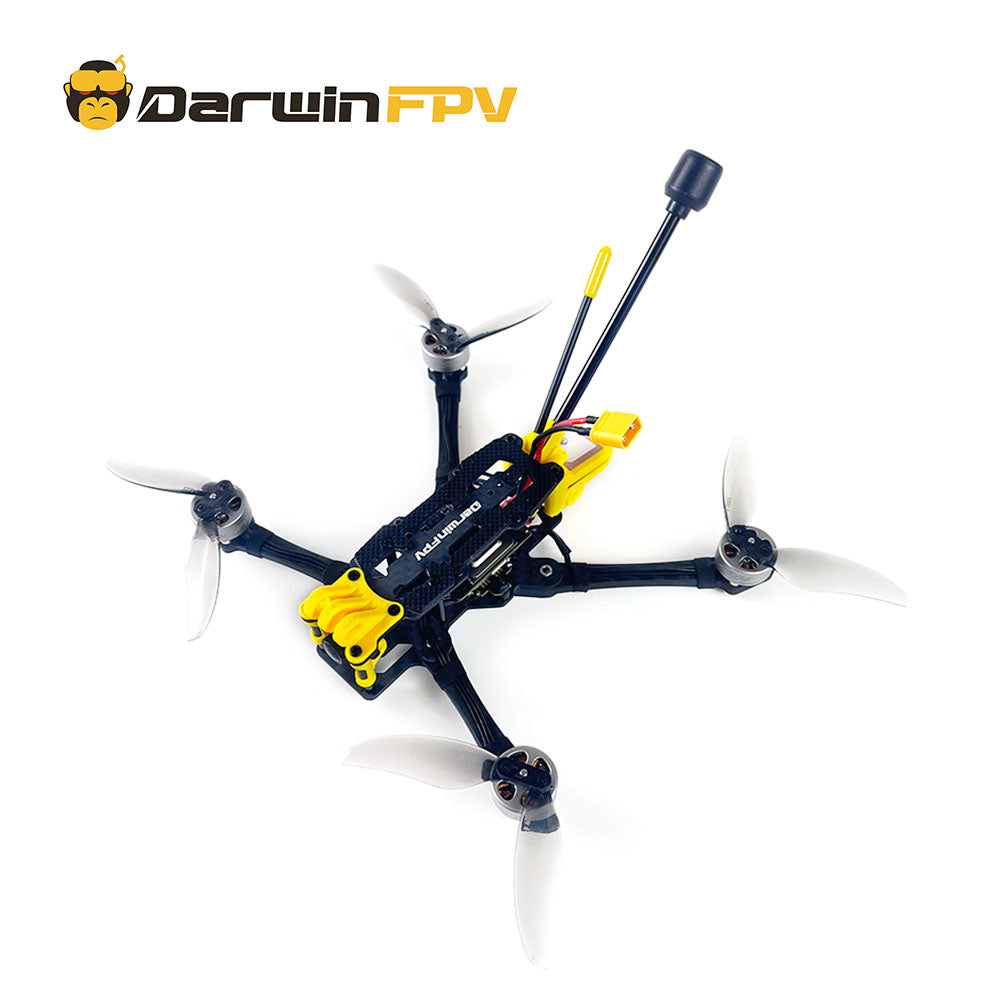
DarwinFPV BabyApe 3''
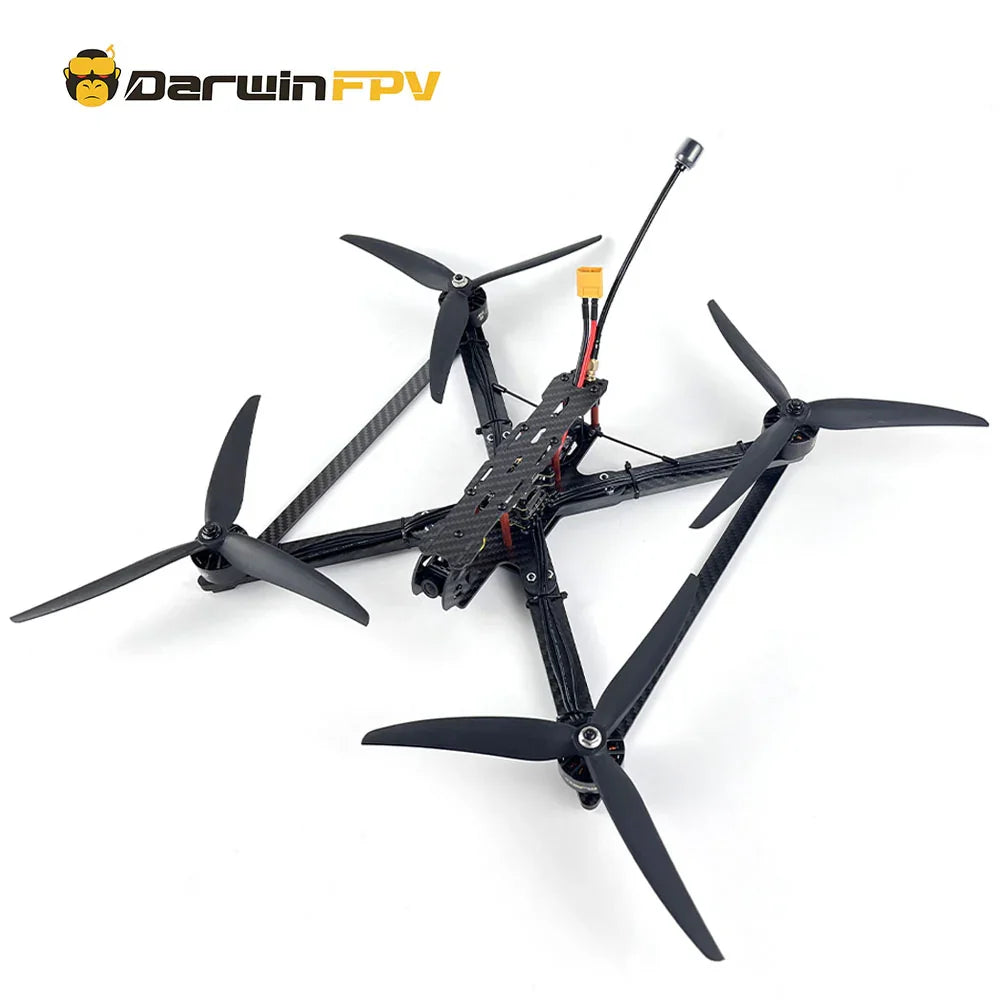
DarwinFPV X9 9" Long Range FPV Drone
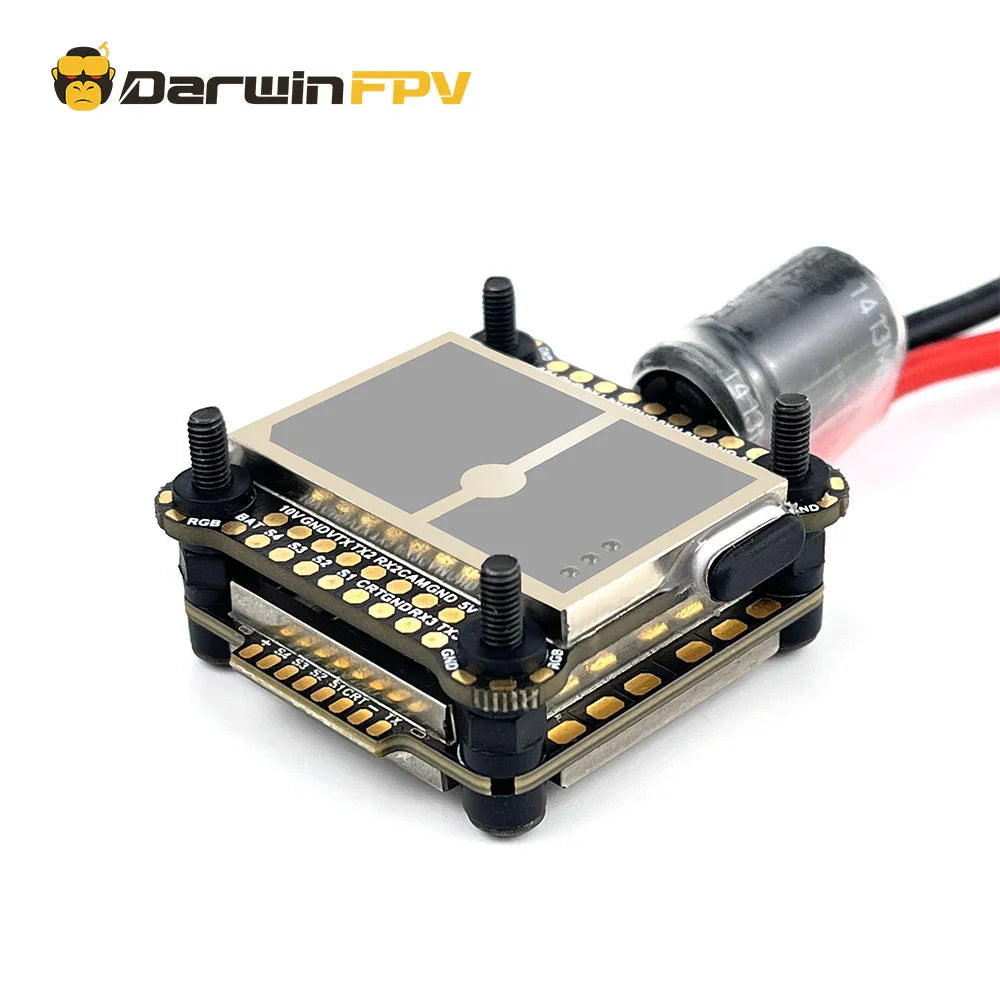
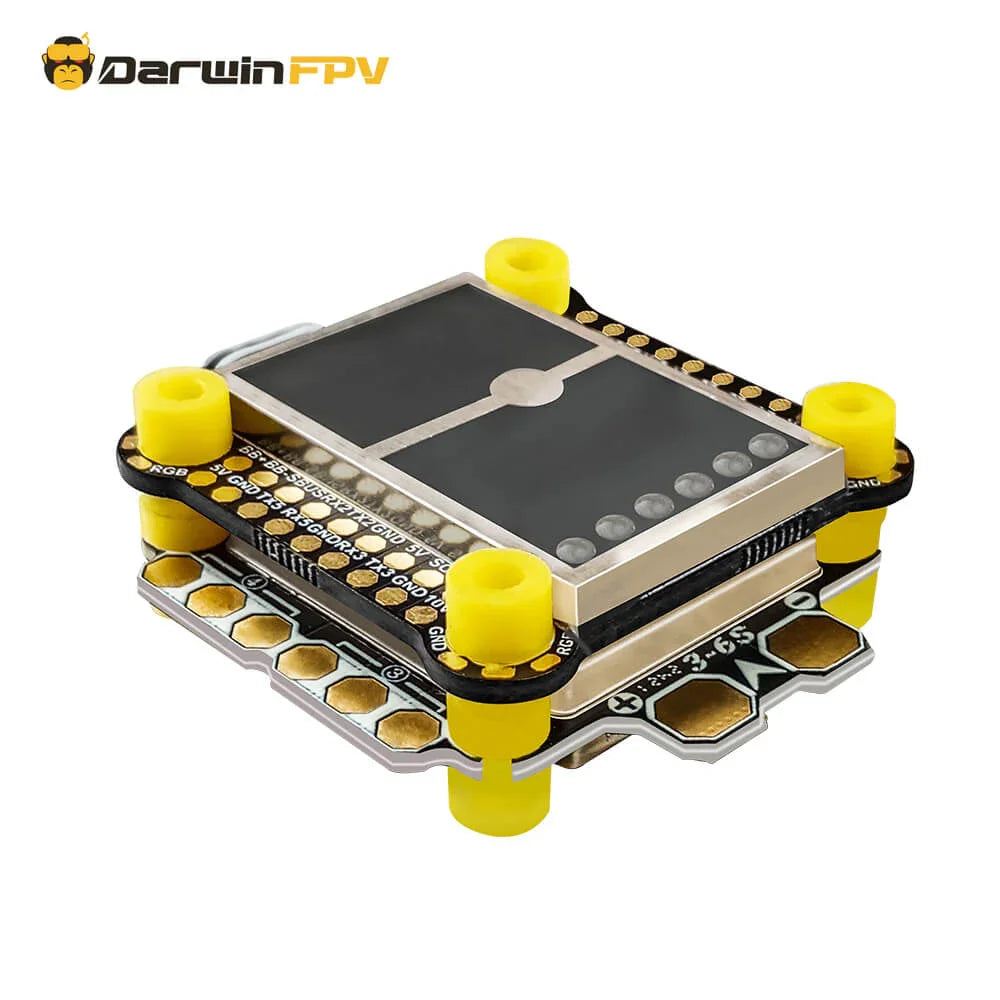
Durable F7-100A Waterproof Stack
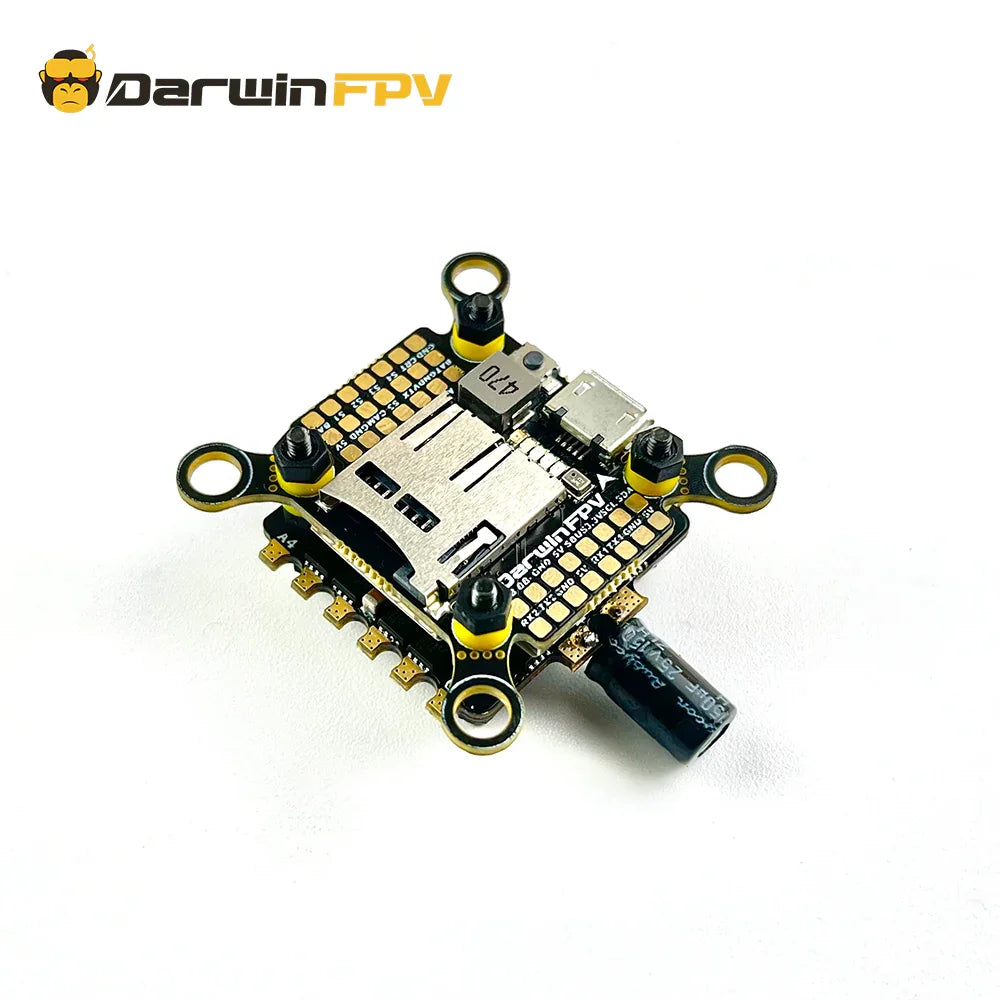
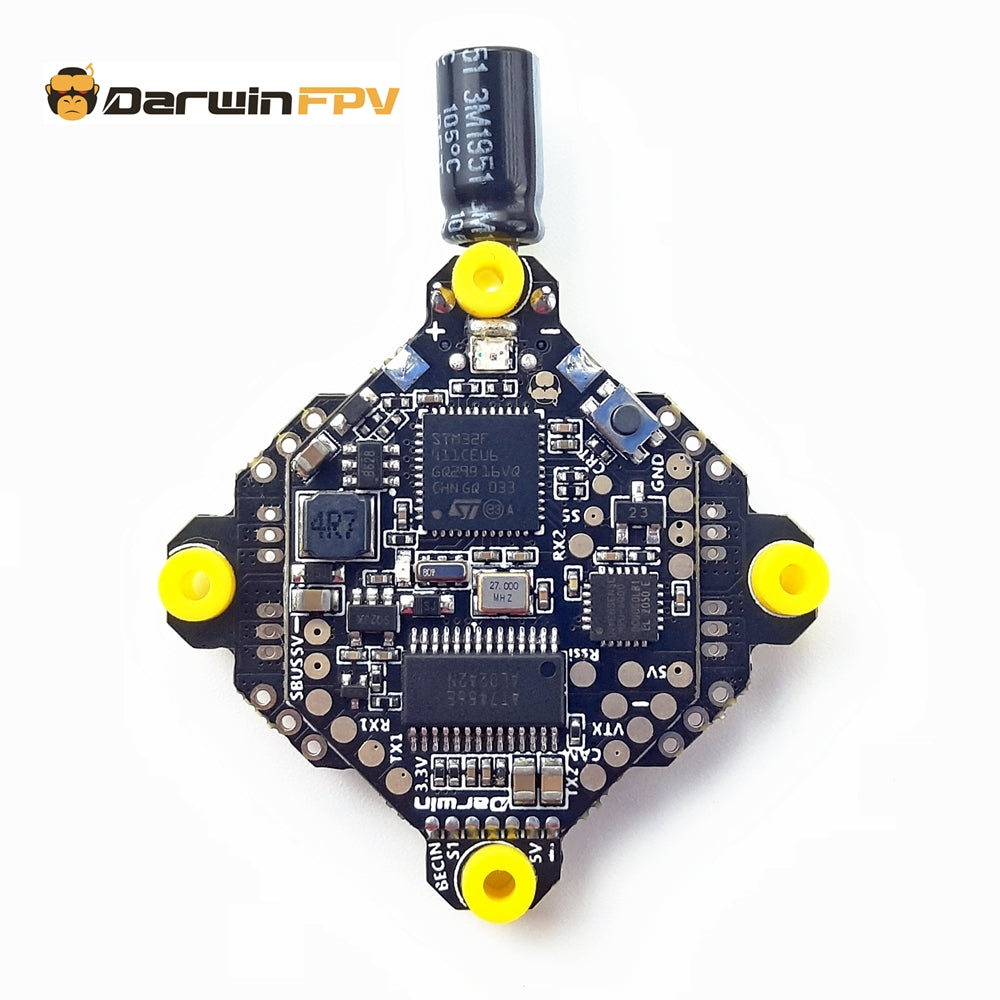
DarwinFPV 3-4S F411 FC 4 IN 1 30A ESC Stack
DarwinFPV Cement Ultra Durable F4 60A Waterproof Stack
DarwinFPV Cement Ultra-Durable 5.8G 2.5W Waterproof VTX
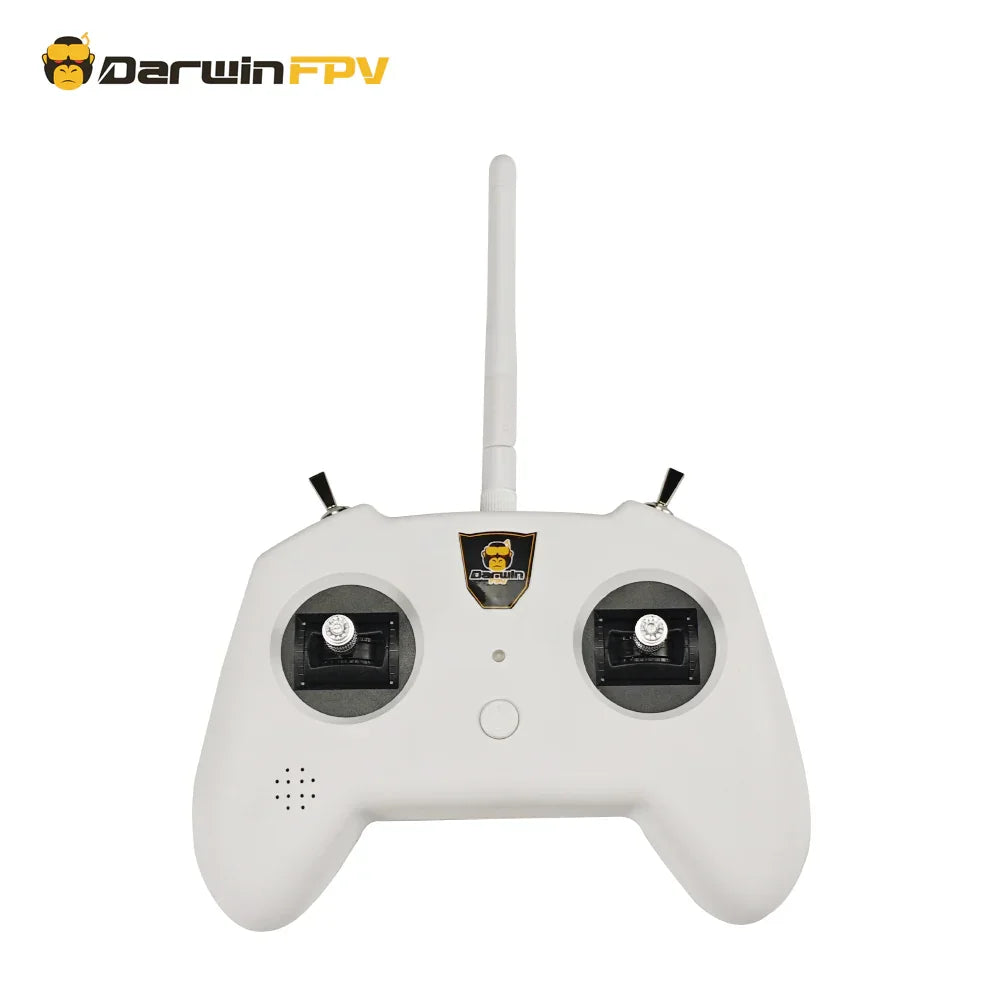
DarwinFPV TX8 ELRS Radio FPV Transmitter
DarwinFPV HULK 45A 3-6S AIO
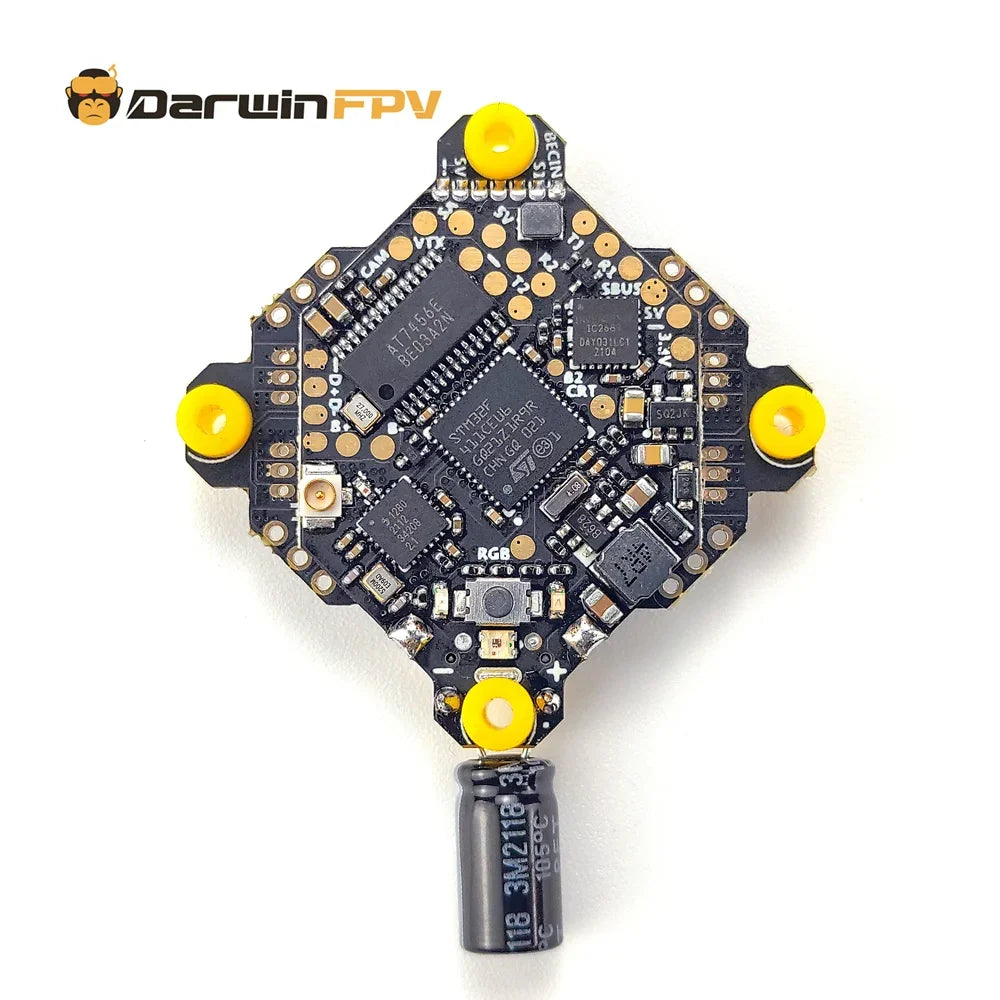
Darwin ELRS2.0 F411 15A Bluejay AIO
